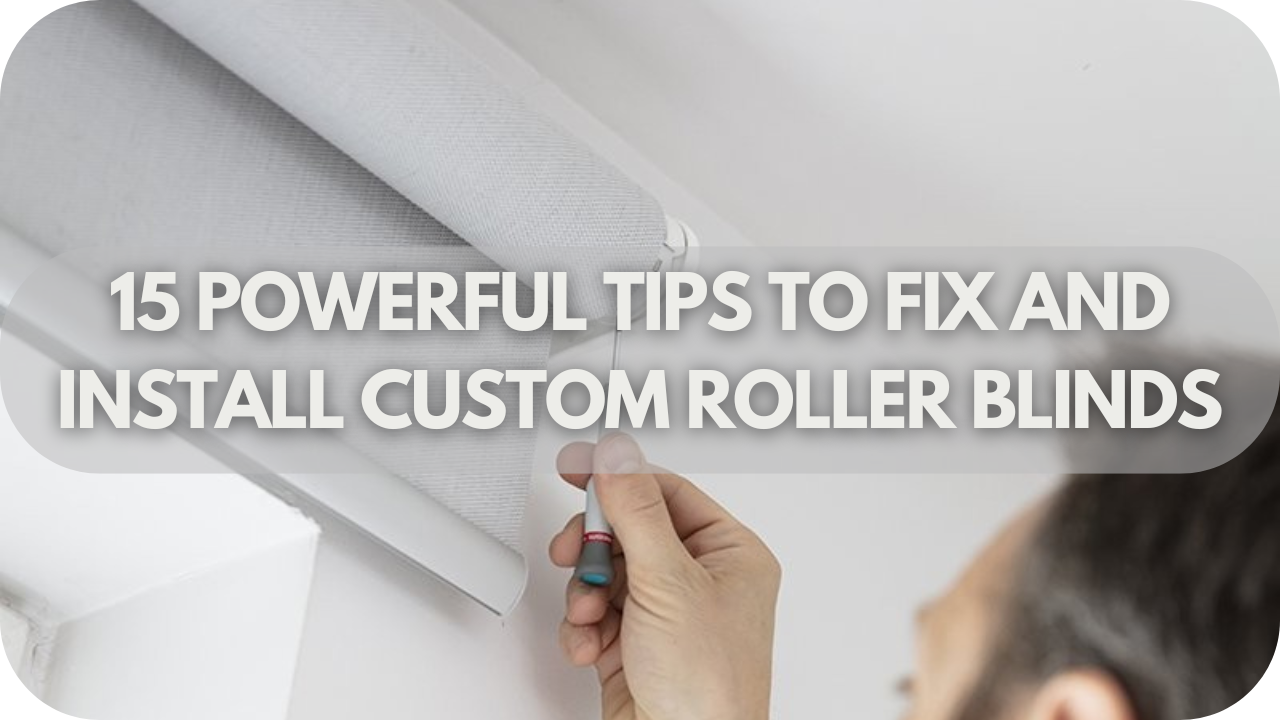
Installing custom roller blinds can be daunting, especially when facing tricky fittings or unexpected issues.
Are you struggling with uneven installations, gaps that let in light, or blinds that simply won’t stay put? These common problems can turn a straightforward process into a frustrating ordeal.
But don’t worry! With these 15 powerful tips, you’ll have all the guidance you need to fix and install your custom roller blinds like a pro, ensuring a perfect fit every time.
1. Measure Twice, Cut Once
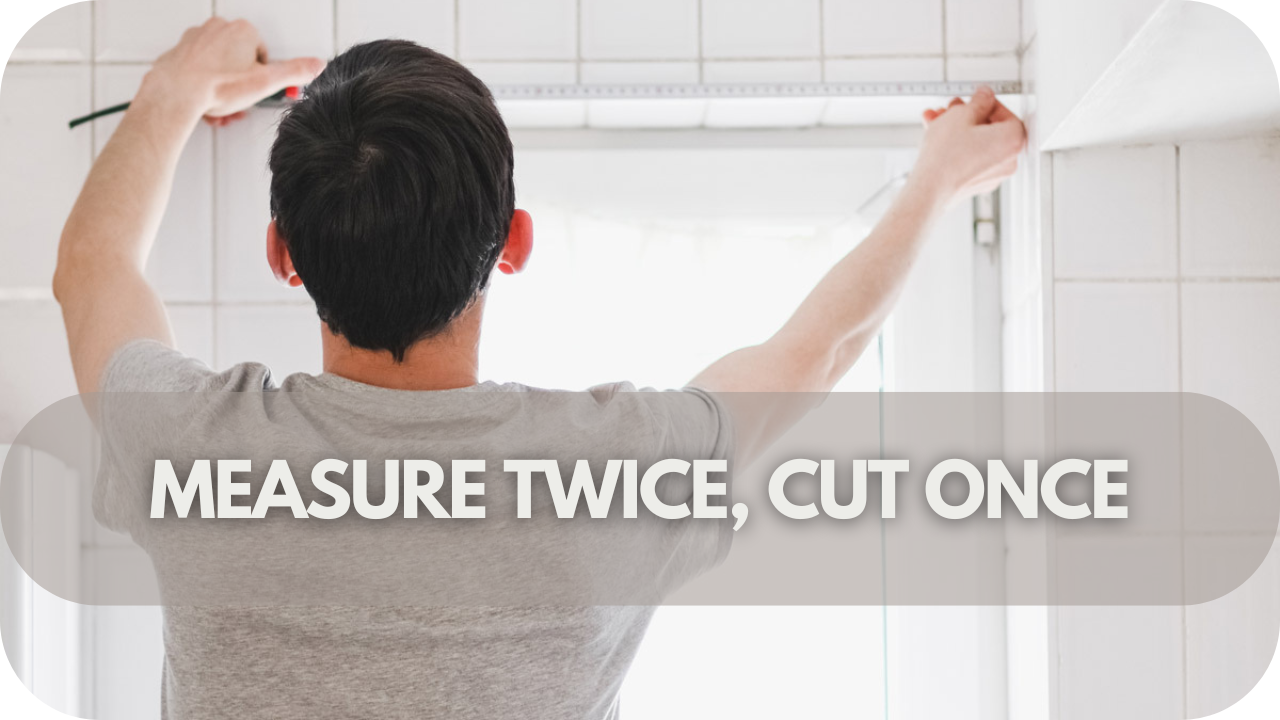
Accurate measurements are the foundation of a perfect fit when installing custom roller blinds. Before you even think about cutting or installing, take the time to measure your windows carefully.
Start by measuring the window’s width at the top, middle, and bottom. Use the smallest of these measurements to ensure the blind will fit snugly. Next, measure the height from the top to the bottom of the window in three places: the left, centre, and right. Again, use the smallest measurement.
Precision is critical; even a few millimetres can significantly affect how your blinds hang. Use a metal tape measure for the most accurate results, as cloth or plastic tape measures can stretch and distort measurements.
Always double-check your measurements before cutting; once the fabric is cut, there’s no going back. This simple step can save you a lot of headaches later on.
2. Choose the Right Tools
The correct tools are essential for a smooth and efficient roller blind installation. Using the right tools speeds up the process and ensures a professional finish. Here’s what you need:
- Tape Measure: A reliable metal tape measure is crucial for precise measurements of your windows. Avoid cloth or plastic ones, as they can stretch and lead to inaccuracies.
- Pencil and Level: A pencil allows you to mark exact positions for brackets, while a level ensures that your markings and eventual installation are perfectly straight.
- Drill and Drill Bits: A cordless drill is ideal for creating pilot holes and securing screws. Ensure you have the appropriate drill bits for your wall type, whether wood, plaster, or brick.
- Screws and Wall Plugs: Choose screws and wall plugs that match your wall type. It ensures a secure fit for your brackets, preventing wobbling or loosening.
- Screwdriver: A good-quality screwdriver will help you secure the brackets and make final adjustments.
- Step Ladder: A stable step ladder is essential for reaching higher points safely during installation.
3. Check the Wall or Window Frame
Before you begin installing your custom roller blinds, it’s crucial to assess the condition of your wall or window frame.
The stability and durability of your installation depend heavily on this initial inspection. Start by checking the material of the wall or window frame, whether it’s wood, plaster, brick, or drywall because each requires specific types of fixings and screws. If the frame or wall shows weakness, such as cracks or soft spots, reinforce these areas before proceeding.
For wooden frames, ensure there are no signs of rot or damage that could compromise the strength of the installation. If you’re working with plaster or drywall, use appropriate wall plugs to prevent screws from pulling out under the weight of the blinds. Brick and concrete walls will need robust masonry screws and drill bits designed for hard surfaces.
Additionally, make sure the surface is level and free of any obstructions, such as old screw holes or uneven patches, which could affect the alignment of your blinds.
4. Use Quality Brackets
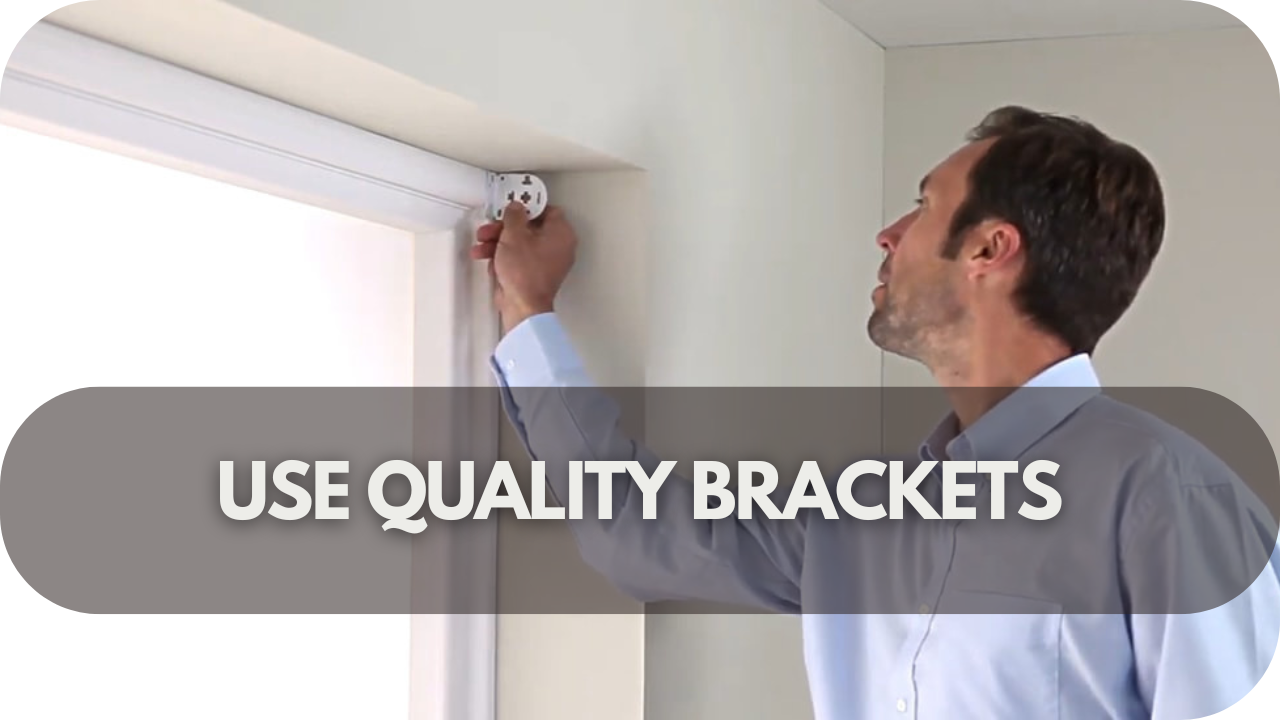
The brackets you choose for your custom roller blinds are more than just a minor detail; they are the backbone of the installation. Investing in high-quality brackets ensures that your blinds remain securely in place, even with daily use. Poor-quality brackets can lead to issues such as sagging, misalignment, or even the blinds falling over time.
When selecting brackets, consider the material and weight of your blinds. Opt for metal brackets for heavier blinds rather than plastic, as metal offers superior strength and durability.
Ensure that the brackets are compatible with the size and type of your roller blinds. It’s also essential to choose brackets that match your wall type, such as masonry brackets for brick walls or specialised plasterboard fixings.
Install the brackets securely using the appropriate screws and wall plugs, making sure they are level and aligned. It will prevent any movement or wobbling that could affect the operation of your blinds.
5. Align the Roller Mechanism
Ensuring the roller mechanism is aligned for smooth operation and a professional look. Misalignment can cause your blinds to roll unevenly, leading to creases, jamming, or even damage to the fabric over time.
First, ensure the brackets holding the roller mechanism are installed at the same height and level. Use a spirit level to double-check this before firmly securing the brackets.
Once the brackets are in place, carefully insert the roller tube into the brackets. Ensure the roller is centred and sits evenly within the brackets; any tilt or imbalance can cause the blinds to roll unevenly.
Test the mechanism by moving the blinds up and down a few times. If you notice any resistance or uneven rolling, adjust the position of the roller tube within the brackets until it moves smoothly. Alignment prevents wear and tear on your blinds’ mechanism and fabric.
6. Install the Roller Blind Evenly
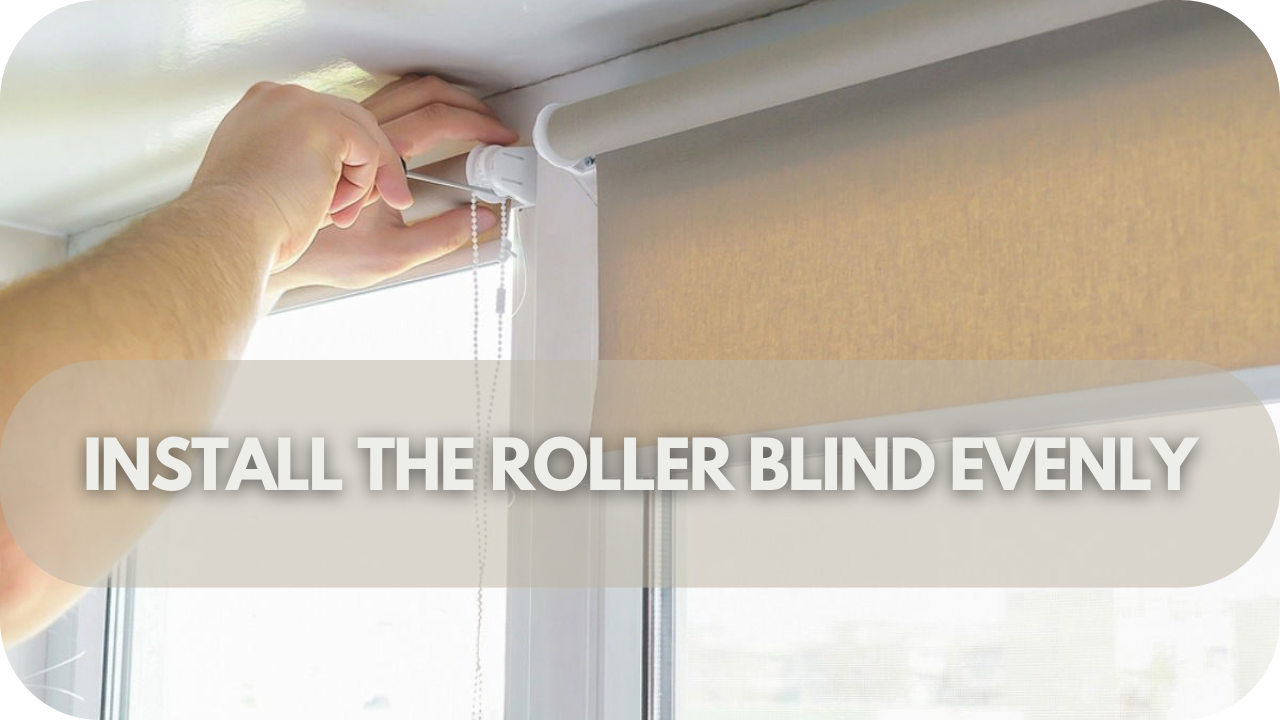
Achieving an even installation is crucial for your roller blinds’ functionality and aesthetics. An uneven installation can cause the blinds to hang crookedly, roll up unevenly, or leave unsightly gaps at the edges.
First, ensure that the brackets are installed at the same height on both sides of the window. Use a spirit level to confirm the alignment before securing the brackets.
When inserting the roller tube into the brackets, ensure it is centred and perfectly level. If the roller tube is tilted or off-centre, the roller blind will roll unevenly, leading to operational issues and a poor appearance.
After positioning the tube, roll the blind down fully and check that the bottom hem is level with the window frame. If it isn’t, adjust the position of the brackets or the roller tube until the blind hangs evenly.
7. Fixing Light Gaps
Light gaps can be frustrating, especially when you expect your roller blinds to provide complete privacy or darkness. Addressing these gaps during installation is crucial for achieving the desired level of light control.
The most common cause of light gaps is incorrect blind width. If the blind is too narrow, it leaves gaps on either side of the window. To avoid this, ensure that your blinds are measured correctly, with a slight overlap on both sides of the window frame.
Consider using side channels or light-blocking strips if light gaps persist despite accurate measurements. These can be installed along the window frame’s edges to close gaps and block unwanted light. Another option is to use a blackout roller blind specifically designed to minimise light penetration.
Custom solutions may be necessary for windows with particularly tricky shapes or frames. Addressing light gaps ensures that your roller blinds provide the privacy and light control you need, whether for a bedroom, media room, or any other space where darkness is essential.
8. Tension Adjustment
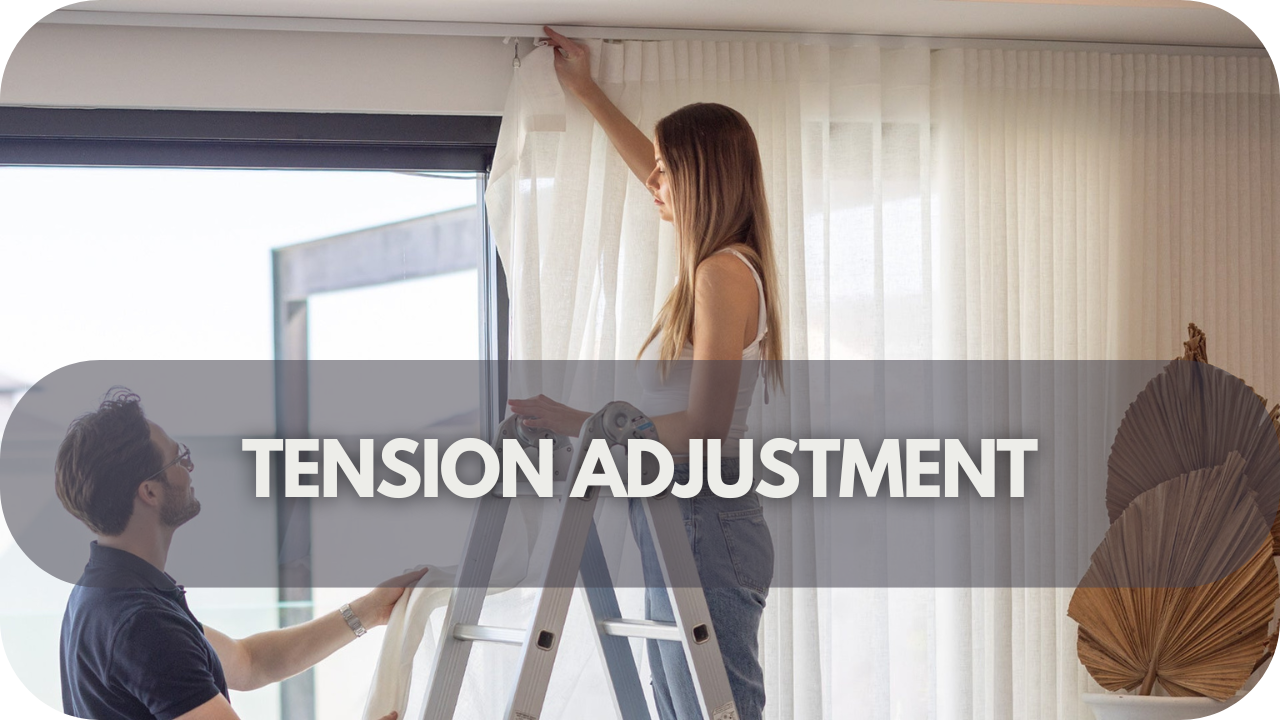
Proper tension adjustment ensures that your roller blinds operate smoothly and last longer. If the tension is too loose, the blinds may not roll up properly, sag, or fail to stay in place.
Conversely, if the tension is too tight, it can strain the mechanism, making it difficult to roll the blinds down or up.
To adjust the tension, gently remove the roller blind from its brackets. Locate the tension adjustment mechanism, usually found on one end of the roller tube. Turn the adjustment mechanism in small increments, clockwise to increase tension and counterclockwise to decrease it.
After each adjustment, reattach the roller blind to the brackets and test the operation by rolling it up and down a few times.
Finding the right balance is essential so that the blind rolls smoothly without any resistance or sagging. It may require trial and error, but getting the proper tension will pay off in the long run.
9. Use Child-Safe Mechanisms
Ensure child safety when installing roller blinds. Loose cords and chains can pose severe risks to young children, including strangulation hazards.
One of the most effective solutions is to opt for cordless roller blinds. These blinds operate with a spring mechanism or a wand, eliminating the need for dangling cords.
If you prefer blinds with cords, ensure they are fitted with a safety device that secures the cords out of reach of children. Devices like cord cleats or tensioners can be easily installed on the wall, keeping the cords taut and secure.
Another option is motorised roller blinds, which can be operated with a remote control or smartphone app, completely removing any cord-related risks.
10. Check for Smooth Operation
Ensuring that your roller blinds operate smoothly is essential for functionality and longevity. After installation, it’s crucial to test the blinds thoroughly to confirm they roll up and down without any hitches.
Start by gently pulling the blinds up and down several times. The movement should be smooth, with no jerking or resistance. If you encounter any issues, such as the blinds sticking or rolling unevenly, it’s a sign that something needs adjustment.
First, check the alignment of the roller mechanism. Misalignment can cause the blinds to bind or roll unevenly, leading to wear and tear on the fabric and mechanism. Next, inspect the tension adjustment. The blinds will only operate if they are tight enough. Make minor adjustments to the tension mechanism until the blinds roll effortlessly.
Don’t forget to check the brackets and ensure they are securely fastened and level. Loose or misaligned brackets can cause operational issues over time.
11. Secure the Bottom Rail
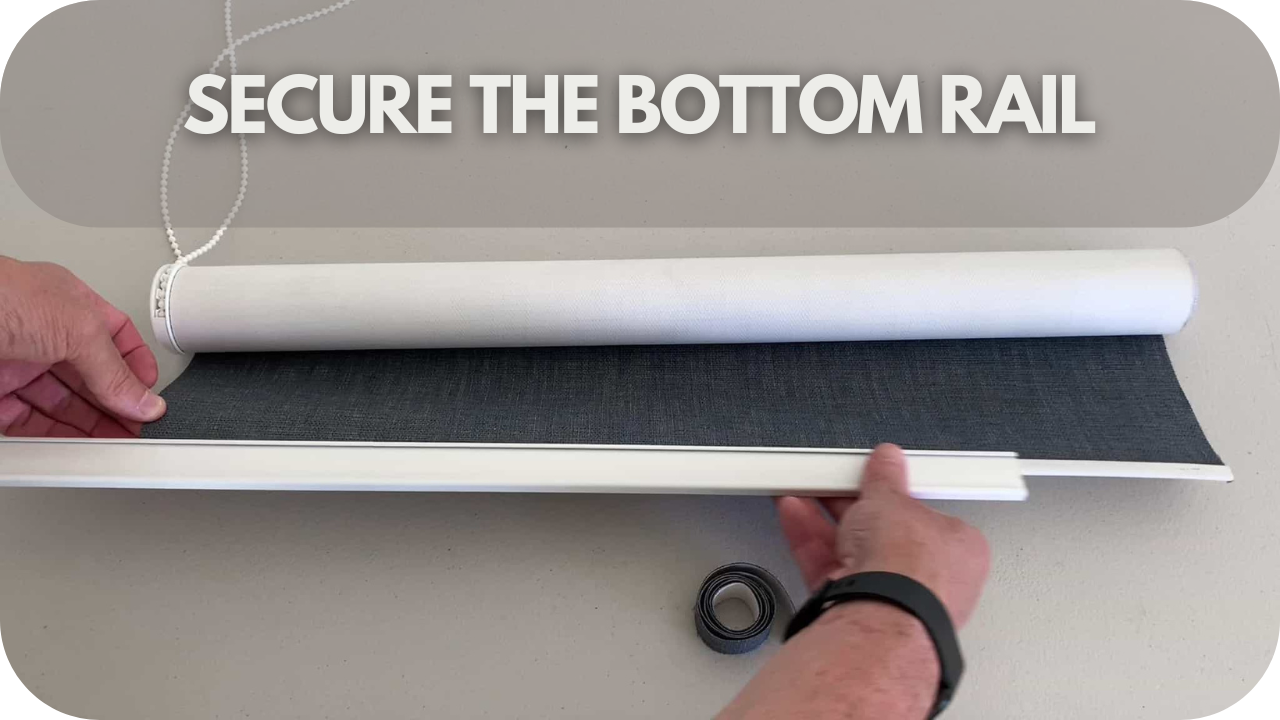
Securing the bottom rail of your roller blinds is crucial for ensuring a neat appearance and proper functionality. A poorly secured bottom rail can cause the roller blind to hang unevenly, sway, or even get damaged over time.
First, ensure the bottom rail is perfectly aligned with the window frame. This alignment enhances the visual appeal and provides the blind rolls up and down smoothly.
Use the provided brackets or clips to secure the bottom rail. Installing these brackets is essential to prevent the roller blind from tilting or misaligning. If your blinds come with side channels, ensure the bottom rail fits snugly within them. It will help eliminate light gaps and keep the roller blind securely in place.
Additionally, check that the fabric is taut and evenly distributed across the bottom rail. This helps maintain a clean, crisp look and prevents the fabric from bunching or sagging.
12. Fix Common Problems
Even with careful installation, roller blinds can sometimes encounter common issues that affect their operation. Identifying and fixing these problems can save you time and prevent further damage.
One frequent issue is uneven rolling, where the blinds don’t roll up straight, leading to a crooked appearance. It is usually caused by misalignment of the roller mechanism or brackets. To fix this, check that the brackets are level and adjust the roller tube within the brackets to ensure it’s properly aligned.
Another common problem is blinds that won’t stay up or fall too quickly. It is often due to incorrect tension in the roller mechanism. Adjust the tension by turning the mechanism until the blinds roll up smoothly and hold their position when fully raised.
If the blinds are difficult to operate or feel stiff, check for any obstructions in the roller mechanism or brackets. Sometimes, debris or misalignment can cause friction, making it harder to manage the blinds.
13. Customising for a Perfect Fit

Achieving a perfect fit for your roller blinds is essential for functionality and aesthetics, especially when dealing with non-standard windows. Customising your roller blinds ensures they meet your specific needs and complement your space.
Start by taking precise measurements considering any unusual shapes or sizes. If your window is a different size, consider ordering made-to-measure blinds to ensure a seamless fit.
For windows with unique features, such as archways or angled frames, you may need to trim the roller blind to size. Use a sharp blade and a straight edge to make clean, accurate cuts, ensuring the fabric doesn’t fray.
Additionally, consider adding side channels or light-blocking strips to eliminate light gaps, especially in bedrooms or media rooms where darkness is essential. You can also customise the fabric and colour of your blinds to match your interior décor for a truly tailored look.
14. Test the Installation
After installing your roller blinds, thoroughly testing the setup is crucial to ensure everything functions as intended.
Start by rolling the blinds up and down several times. The movement should be smooth and consistent, with no jerking or sticking. Recheck the roller mechanism’s alignment and the blinds’ tension if you encounter any resistance.
Ensure the blinds hang evenly and the bottom rail is level with the window frame. An uneven blind can indicate misaligned brackets or an off-centre roller tube, leading to operational issues over time. If the blinds include a chain or cord mechanism, test its ease of use, ensuring it operates without excessive force.
Additionally, inspect the blinds for any light gaps or spaces where the fabric doesn’t fully cover the window. If light seeps through, consider adjusting the positioning or adding light-blocking strips or side channels.
Finally, check all fixings and brackets to ensure they are secure and stable. An adequately tested installation guarantees that your roller blinds will function efficiently and look professional, providing a reliable solution for years.
15. Maintenance Tips for Longevity

Proper maintenance is the key to extending the life of your roller blinds. Here’s how to keep them in top condition:
- Regular dusting: Use a soft cloth or a vacuum cleaner with a brush attachment to remove dust and dirt from the fabric. It prevents discolouration and damage over time.
- Deep cleaning: For a more thorough cleaning, gently wipe the fabric with a damp cloth and mild detergent. Avoid harsh chemicals that can weaken the fabric or damage the roller mechanism. Ensure the blinds are fully dry before rolling them up to prevent mould or mildew.
- Inspect roller mechanism and brackets: Periodically check for signs of wear or loosening. Tighten any loose screws and adjust the tension as needed to maintain smooth operation.
- Lubricate the roller mechanism: Apply a silicone-based spray to the roller mechanism to ensure smooth movement and prevent friction.
- Avoid rolling wet blinds: Always ensure they are dry before rolling them up to prevent moisture-related issues like mould.
- Proper care extends longevity: Following these maintenance tips, you can keep your roller blinds functional and visually appealing for years, ensuring your investment continues to provide value.
Conclusion
Following these 15 powerful tips, you can confidently fix and install your custom roller blinds with professional results. Whether you’re a DIY enthusiast or new to blind installation, these insights will help you achieve a perfect finish.
Ready to transform your space? Start your project today and enjoy the benefits of perfectly installed blinds.