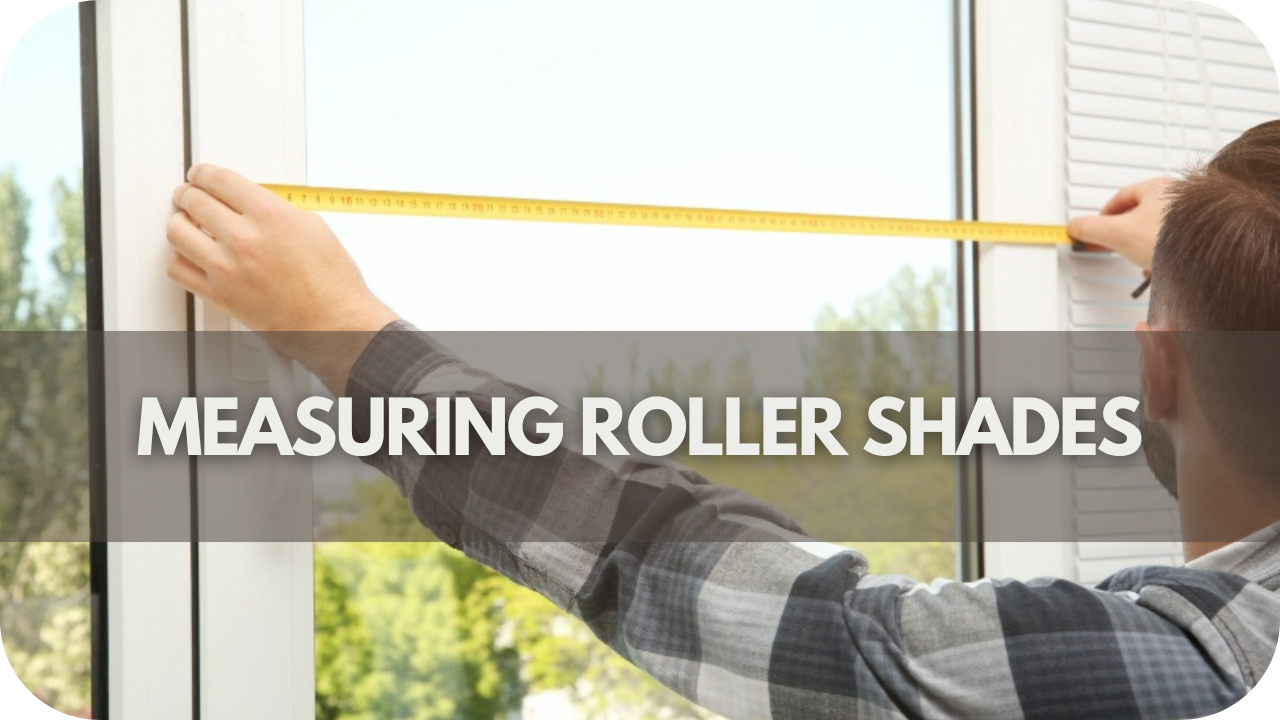
When I first tackled the task of fitting roller shades for my home, I realised how crucial precise measurements were. I remember measuring my windows three times just to be sure, only to find out later that a tiny error could lead to a shade that didn’t quite fit.
Getting the perfect fit isn’t just about aesthetics but functionality and convenience. In this guide, I’ll walk you through the steps to ensure your roller shades fit perfectly, avoiding the pitfalls I faced and helping you achieve a flawless result.
Tools You Will Need
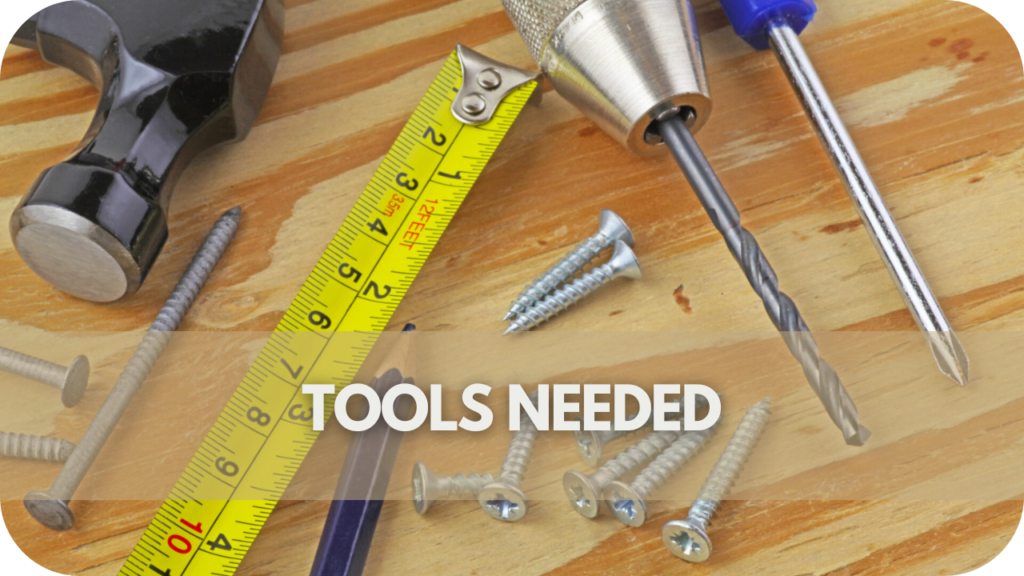
Measuring roller shades accurately requires a few essential tools to ensure a perfect fit. Start with a measuring tape—a flexible, retractable tape is ideal for capturing both width and height measurements.
Precision is key, so having a pencil and paper handy will help you jot down and double-check your dimensions.
For those high or hard-to-reach areas, a step ladder might be necessary to ensure you can measure accurately from top to bottom.
If you want to streamline the process, consider using a digital tape measure. These devices offer quick and precise readings with minimal effort.
Ensure your measuring tape and digital tools are in good condition to avoid inaccuracies. These tools are straightforward but crucial for achieving the best fit for your roller shades, so gather them before measuring to ensure a smooth and precise process.
Measuring for Inside Mount
Achieving a precise fit for an inside mount requires careful measurement. Follow these steps to ensure accuracy:
Step 1: Measure the Width
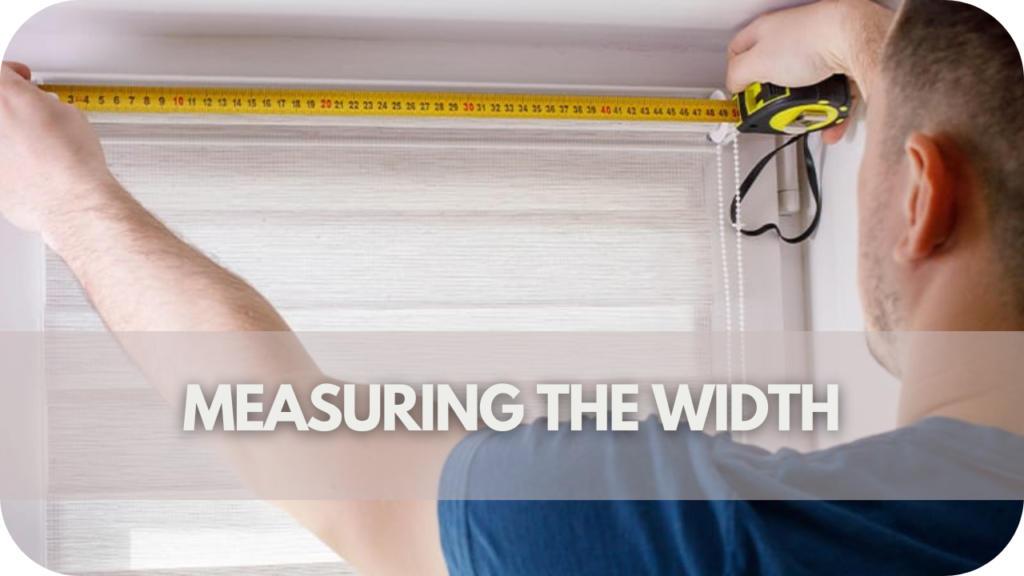
Begin by measuring the width of the window frame at three distinct points: the top, middle, and bottom. This step is crucial as window frames can sometimes be uneven. Use a measuring tape to capture the width at each point and record these measurements.
To ensure a perfect fit, use the smallest measurement of the three. This ensures that the roller shades will fit snugly within the frame, accommodating any slight variations in the frame’s width.
Step 2: Measure the Height
Next, measure the height of the window frame from the top to the bottom, taking measurements on both the left and right sides of the frame. Again, record these measurements and use the smallest value for any window height inconsistencies.
This step ensures that the roller shades cover the entire window height, providing a uniform appearance.
Step 3: Measure the Depth
Finally, measure the depth of the window frame. This measurement ensures enough space for the roller shades to fit without obstruction.
Check for potential obstructions, such as window handles or mouldings, that might interfere with the shade’s installation. Accurate depth measurement will help avoid any issues during installation and ensure a smooth fit within the frame.
Measuring for Outside Mount
Precise measurements are essential for complete and flawless coverage when installing roller shades outside the window frame. Follow these steps for accurate results:
Step 1: Measure the Width
Start by measuring the width of the area you want to cover. This includes the window itself and any additional space you want to encompass. Decide on the amount of overlap you prefer on each side of the window—typically, 5 to 10 cm is recommended to block out light effectively and enhance the overall look.
Measure from one end of the desired coverage area to another, incorporating this additional overlap. If you’re measuring multiple points, ensure to use the most comprehensive measurement to accommodate any inconsistencies in the frame.
Step 2: Measure the Height
Measure from where you plan to mount the shade to the desired endpoint. This ensures the shade will cover the entire height of the window and any extra space needed for a seamless look.
Add a bit of extra length to the measurement to ensure complete coverage and avoid light gaps. This additional length will help in creating a more polished and full appearance.
Step 3: Measure the Drop
Assess the drop from the top of the window frame to where you want the bottom of the shade to fall. This measurement ensures that the roller shade covers the window and aligns properly with the mounting area.
Ensure you include any additional length needed for a complete drop, which prevents light gaps and provides a neat finish.
Additional Tips
To guarantee a perfect fit for your roller shades, consider these crucial tips:
- Double-check all measurements: Ensure accuracy by verifying your width, height, and depth measurements at least twice.
- Consider any obstructions: Measure around handles, mouldings, or other hardware that might interfere with the shade’s operation.
- Account for window irregularities: Adjust measurements for uneven edges or non-square frames to ensure a proper fit.
- Use a level: Ensure the shades hang straight and look professionally installed.
- Plan for installation: Review mounting hardware and instructions before beginning; consult a professional if needed.
- Check for clearance: Ensure enough space above and around the window for mounting the shades and any additional brackets or hardware.
- Think about the fabric: When measuring, consider the thickness and weight of the fabric, as this can affect how the shades fit and operate.
Common Mistakes to Avoid
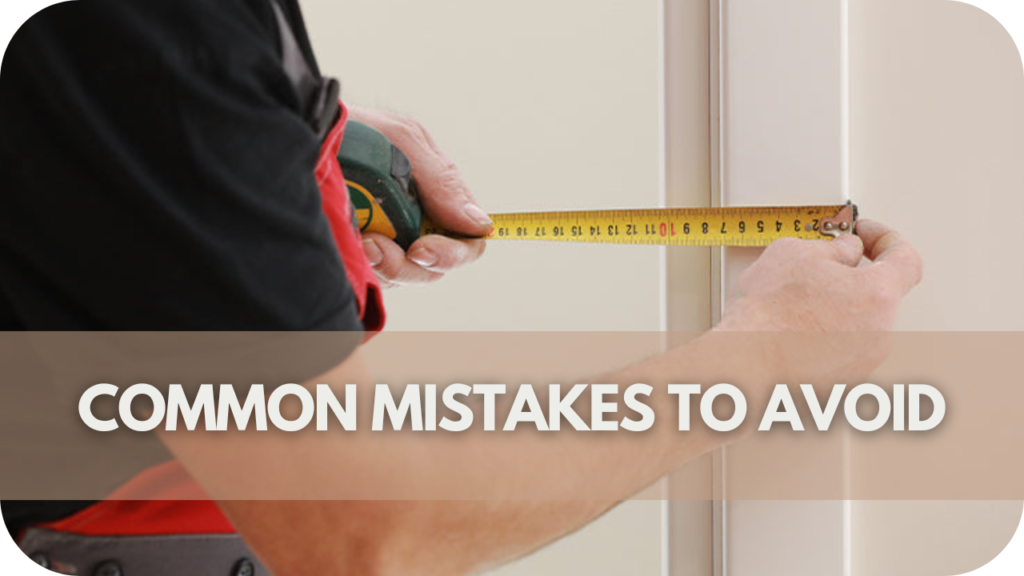
Avoiding common mistakes can make a significant difference in achieving the perfect fit for your roller shades.
Here are vital errors to watch out for:
Measuring only once is a frequent mistake. Always measure the width, height, and depth multiple times to ensure accuracy, as a single error can lead to ill-fitting shades. Ignoring window obstructions can also be problematic; account for handles, mouldings, or other features that might interfere with the shades’ operation.
Another common issue is overlooking window irregularities. Measure at several points to account for uneven frames or non-square windows. Not allowing proper clearance above and around the window can hinder installation and functionality.
Failing to check the fabric thickness can affect how well the shades fit and operate. Ensure your measurements accommodate the weight and bulk of the fabric. Lastly, not using a level during installation can result in crooked shades, impacting appearance and function.
Conclusion
In conclusion, accurate measurements are crucial for a flawless roller shade fit. By following these steps, you’ll ensure a seamless and professional installation.
Ready to transform your space with perfectly fitted shades? Measure carefully, avoid common pitfalls, and if you need assistance, don’t hesitate to contact us for expert help and advice.

