Are you struggling with old or malfunctioning roller shades? Removing them can seem daunting, especially if you need help figuring out where to start.
This guide simplifies the task, addressing everyday frustrations and providing a straightforward, step-by-step approach.
From gathering the right tools to safely detaching and disposing of the shades, we offer a hassle-free solution to help you handle this task efficiently and confidently.
1. Gather Your Tools and Materials
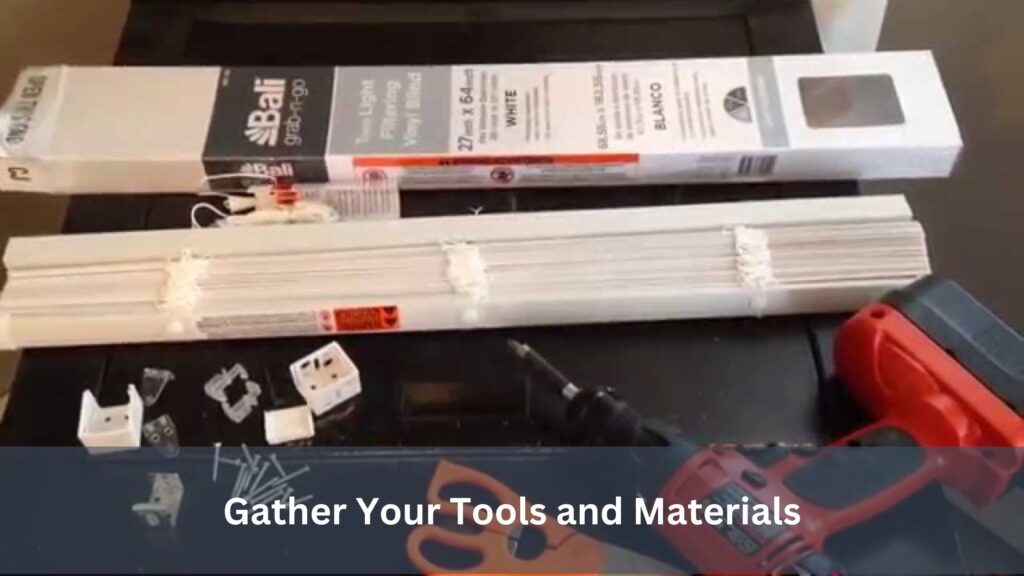
Gathering the necessary tools and materials before removing your roller shades is essential. Having everything ready ensures a smooth and efficient process without interruptions. Here’s what you’ll need:
- Screwdriver: Depending on your roller shade installation, you may need a flathead or Phillips screwdriver to loosen screws.
- Pliers: Useful for gripping and pulling components that might be stuck or tightly secured.
- Step Ladder: If installed high up, ensure safe access to the roller shade.
- Utility Knife: Helpful for cutting any adhesive or stubborn materials.
- Masking Tape: Use to mark and secure parts during disassembly.
- Drop Cloth or Plastic Sheet: Protects your floor or furniture from dust or debris.
- Container or Bag: To collect and store screws and small parts for safekeeping.
- Cleaning Supplies: Prepare cloths or a vacuum to clean the area after removal.
2. Prepare the Workspace
Preparing your workspace before removing roller shades ensures a safe and organised environment for the task ahead. Start by clearing the area around the window to create ample space for movement and placement of tools. Lay down a drop cloth or plastic sheet to protect floors and furniture from dust or accidental spills.
Next, position a sturdy step ladder to reach high-mounted roller shades safely. Ensure the ladder is on a stable surface and at an appropriate distance from the window to provide a comfortable working height. If your roller shades are large or heavy, consider having an assistant to help with handling and disassembly.
Additionally, gather all tools and materials assembled earlier within easy reach. Place them on a nearby table or within a container to keep everything organised and accessible. This preparation minimises interruptions and ensures you can effectively focus on each step of removing the roller shades.
3. Detach the Roller Shade from the Brackets
Now that your workspace is prepared, it’s time to detach the roller shade from the brackets. This step is crucial and requires careful handling to avoid damaging the shade or the brackets. Begin by identifying the type of brackets holding your roller shade. Most roller shades use either spring-loaded or clip-on brackets.
For spring-loaded brackets, gently pull the roller shade towards you. You should feel the spring mechanism release. While holding the shade, carefully lift it out of the bracket. If the shade is resistant, apply a slight rocking motion to ease it out.
Use a flathead screwdriver to pry open the clips gently for clip-on brackets. Insert the screwdriver between the bracket and the shade’s end cap, then twist slightly to release the clip. Once the clip is disengaged, carefully slide the roller shade out of the bracket.
Throughout this process, ensure you have a firm grip on the roller shade to prevent it from dropping or unrolling unexpectedly. An assistant can be beneficial if the roller shade is large or heavy. After detaching the shade, place it on a flat, clean surface to prevent damage.
Once the roller shade has been detached, you can unroll and remove the fabric or material.
4. Unroll and Remove the Fabric or Material
With the roller shade detached from the brackets, the next step is to unroll and remove the fabric or material. This part requires precision to avoid damaging the shade or its components. Start by laying the roller shade on a flat, clean surface. Ensure the surface is large enough to accommodate the entire length of the shade when unrolled.
Carefully begin unrolling the fabric or material from the roller tube. Go slowly to prevent creasing or tearing. If the shade is attached to the roller tube with adhesive, use a utility knife to gently cut along the adhesive line, not cutting the fabric itself.
For shades secured with clips or screws, use a screwdriver or pliers to remove these fasteners. Keep the screws or clips in a small container to avoid losing them. Remove the fabric from the roller tube once the fasteners are removed.
Inspect the fabric for any signs of damage or wear. If the fabric is in good condition and you plan to reuse it, roll it up neatly and store it safely. If not, dispose of it properly. This step ensures the roller mechanism is free of obstructions, allowing you to clean and inspect it thoroughly before deciding on the following action.
5. Clean and Inspect the Roller Mechanism

It’s time to clean and inspect the roller mechanism with the fabric or material removed. This step ensures the longevity and proper functioning of your roller shades. Begin by wiping down the roller tube with a damp cloth to remove dust or debris.
Pay special attention to the ends of the tube, where dust and grime accumulate. Use a mild cleaning solution and a soft brush to scrub the area gently if there is any stubborn dirt. Make sure the roller tube is completely dry before proceeding.
Next, examine the roller mechanism for any signs of wear or damage. Check the brackets and end caps for cracks or bent parts affecting the roller shade’s operation. If your roller shade has a spring mechanism, gently rotate the tube to test the tension.
The spring should provide smooth resistance; it may need adjustment or replacement if it feels loose or tight. For roller shades with a chain or cord mechanism, inspect the chain or cord for fraying and ensure the pulley system moves smoothly without catching.
Lubricate moving parts with a small amount of silicone spray to ensure they operate smoothly. Cleaning and inspecting the roller mechanism ensures your shades remain in good working condition and prepares them for reinstallation or storage. Once complete, you can store or dispose of the roller shade properly.
6. Store or Dispose of the Roller Shade Properly
After successfully removing and cleaning your roller shade, storing or disposing of it correctly is crucial to ensure safety and environmental responsibility. Proper handling at this stage can make a significant difference, especially if you plan to reuse the shade.
Storing the Roller Shade
If you intend to store the roller shade for future use, follow these steps:
- Roll Up the Fabric: Roll it up neatly if the fabric is still in good condition. Use masking tape to secure the roll and prevent it from unravelling.
- Protect the Components: Wrap the roller mechanism and brackets in bubble wrap or a soft cloth to protect them from dust and damage.
- Label the Parts: Place small parts like screws and brackets in a labelled container or plastic bag. Attach the container to the rolled-up shade to keep everything together.
- Choose a Safe Storage Area: Store the roller shade in a dry, cool place away from direct sunlight and extreme temperatures. Avoid areas with high humidity, which can cause mould or mildew.
Disposing of the Roller Shade
If the roller shade is damaged or no longer needed, dispose of it responsibly:
- Check Local Regulations: Before disposal, check your local regulations for recycling or disposing of window treatments. Some components may be recyclable.
- Separate Materials: Disassemble the roller shade and separate the fabric from the metal or plastic components. This makes recycling more accessible and more efficient.
- Recycle Metal and Plastic Parts: Take metal and plastic components to a local recycling centre. Many centres accept these materials and ensure they are processed correctly.
- Dispose of Fabric: If the fabric is not recyclable, dispose of it in your regular waste. However, to reduce waste, consider repurposing it for other uses, such as cleaning rags or craft projects.
Conclusion
Removing roller shades is a straightforward process that is approached step-by-step. You ensure a smooth removal by gathering the necessary tools, preparing your workspace, carefully detaching the shade, unrolling the fabric, and cleaning the mechanism.
Properly storing or disposing of the shade completes the task responsibly. Following this guide, you can handle roller shades efficiently, whether for replacement, maintenance, or disposal, keeping your space orderly and well-maintained.