Are you finding it challenging to get mini blinds that fit just right?
Incorrect measurements can result in blinds that are either too small or too wide or simply don’t sit well, leading to frustration and an unsightly appearance.
But fear not—following a straightforward guide, you can measure your windows accurately, guaranteeing a perfect fit every time. Let’s walk you through the steps to achieve the ideal finish for your home but before that …
Tools You’ll Need
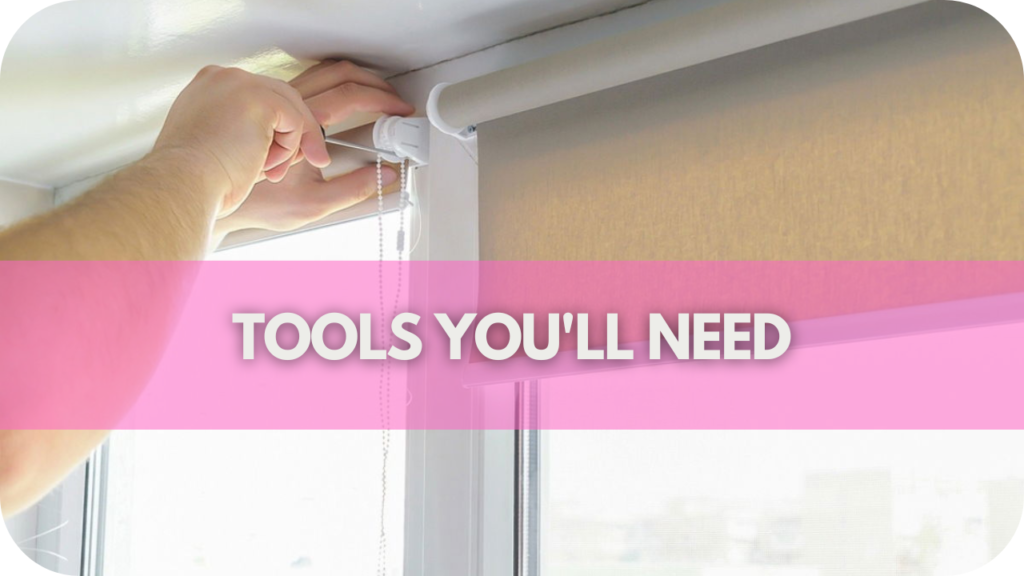
Having the right tools is crucial to ensure your mini blinds fit perfectly. Here’s a detailed look at each tool you’ll need:
- Tape Measure: A steel tape measure is essential for precise measurements. Ensure it’s long enough to cover your window’s width and height. Flexible fabric tape measures are not recommended as they can stretch and provide inaccurate readings.
- Pencil and Paper: Keep these handy for jotting down your measurements. A pencil allows easy corrections; paper ensures you can record and reference your measurements. It’s vital to double-check your notes to avoid any errors.
- Ladder or Step Stool: A sturdy ladder or step stool is necessary for taller windows to reach higher points safely. Ensure the ladder or stool is stable and tall enough to allow you to get to the top of the window frame comfortably.
- Level: A level ensures your measurements are straight and even, which is particularly important for inside mounts. An uneven measurement can result in blinds that don’t hang correctly, leading to functionality and aesthetic issues.
- Measuring Template: Some manufacturers provide measuring templates to help with consistency. These templates are handy for inside mounts, ensuring you accurately measure the depth and width according to the blinds’ requirements.
Preliminary Steps Before Measuring
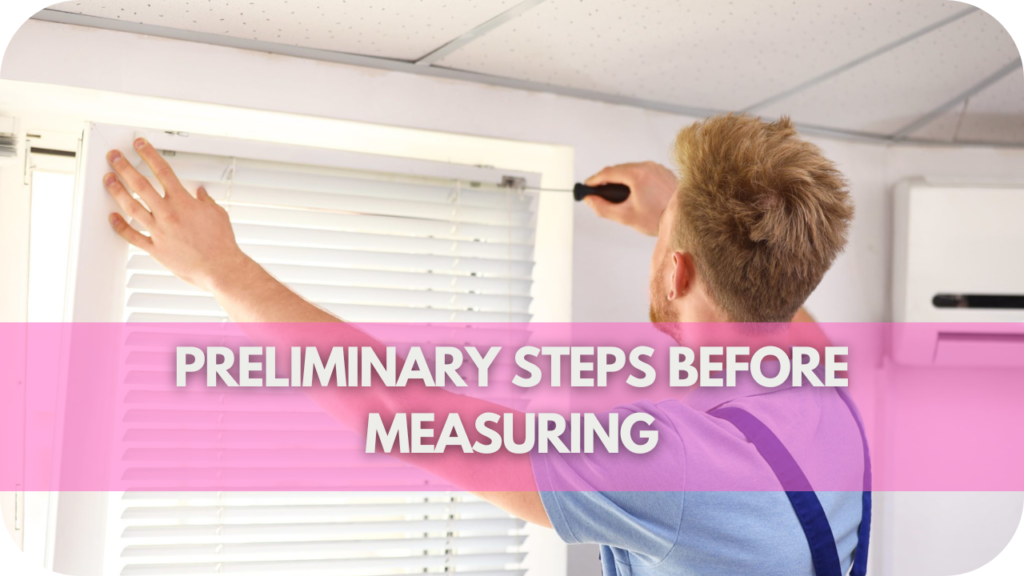
Before measuring your mini blinds, taking a few preliminary steps can make the process smoother and more accurate. Preparing your window area and gathering the necessary tools set yourself up for success.
Follow these essential steps to ensure you get precise measurements for a perfect fit;
Step 1: Clear the Window Area
Remove any existing blinds, curtains, or obstructions from the window area. This provides an unobstructed view of the window frame, ensuring nothing interferes with your measurements.
Clearing the area also allows you to see the full extent of the window, which is especially important for identifying any unusual features or potential obstacles that might affect the fit of your new blinds.
Step 2: Clean the Window Frame
Wipe the window frame thoroughly to remove dust, dirt, and debris. A clean frame ensures that your tape measure will sit flush against the surface, allowing for accurate readings.
Cleaning also helps you detect any imperfections, such as cracks or warping, that could impact the installation of your blinds. Use a damp cloth for the best results, and make sure the frame is completely dry before you begin measuring.
Step 3: Inspect the Window Frame
Carefully examine the window frame for any damages or irregularities. Look for cracks, warping, or uneven surfaces that could affect the fit and function of your blinds. If you find any issues, repair them before proceeding with the measurements.
Step 4: Double-Check Mount Type
Decide whether you will use an inside or outside mount for your blinds. This decision will determine how and where you take your measurements.
For an inside mount, measure the interior dimensions of the window frame, ensuring the blinds fit snugly within the frame. For an outside mount, measure the area outside the window frame to cover it completely.
Step-by-Step Guide to Measuring Mini Blinds
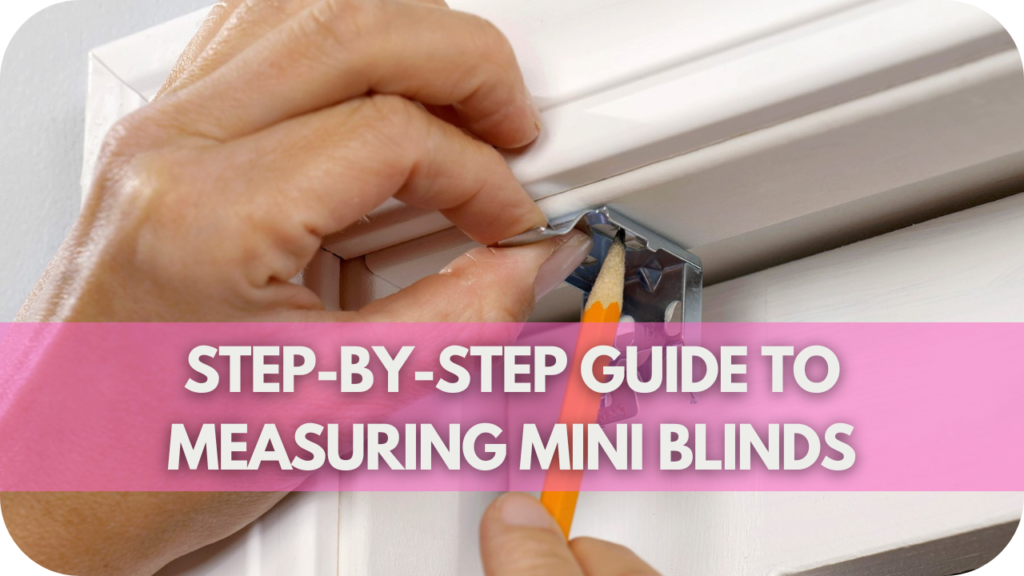
The step-by-step guide below will take you through a systematic approach to measuring whether you opt for an inside or outside mount.
Step 1: Decide on the Mount Type
Choosing the right mount type for your mini blinds is crucial for functionality and aesthetics. There are two main options: inside mount and outside mount.
A. Inside Mount
Inside mount blinds fit within the window frame, providing a clean, streamlined look. This option is ideal if you want the blinds to blend seamlessly with your window and if your window frame has sufficient depth to accommodate the blind’s hardware.
To measure for an inside mount, you’ll need to measure the width and height of the window at three different points and use the smallest width and most considerable height for your order.
B. Outside Mount
Outside mount blinds are installed outside the window frame, covering a larger area. This option is perfect for windows with shallow frames or when you want to make a statement.
These mounts can also help block more light and provide better privacy. For this type, measure the width from edge to edge of the area you want to cover and add extra for better coverage. Measure the height from the top of where the mount will be to the desired length of the blinds.
Step 2: Measure for Inside Mount
Precise measurements are crucial to achieving a perfect fit for inside-mount mini blinds. This process involves measuring your window frame’s width, height, and depth at specific points to ensure the blinds fit seamlessly.
Follow these detailed steps to ensure accuracy and a flawless installation.
- Measure the Width: Measure the width at the top, middle, and bottom. Using a steel tape measure, note the exact width in each spot. Record the smallest measurement to account for slight variations or inconsistencies in the window frame.
- Measure the Height: Next, measure the height of the window frame at three points: left, centre, and right. This step ensures full coverage from top to bottom, even if your window is slightly uneven. Record the most significant measurement to ensure the blinds will cover the entire height of the window, providing optimal functionality and appearance.
- Measure the Depth: Finally, measure the depth of the window frame. This is crucial because most inside mounts require a minimum depth for the blinds’ hardware to fit correctly. Use your tape measure to check the distance from the front of the window frame to the back. Ensure that this depth meets or exceeds the minimum requirement specified by the blind manufacturer.
Step 3: Measure for Outside Mount
Measuring for outside mount mini blinds ensures full coverage and optimal light control. Follow these detailed steps for accurate measurements:
A. Measure the Width
Measure the desired width of the blinds from the outer edges of the area you want to cover. Start from one side of the window frame and extend to the other, including any extra width needed for better light blockage and privacy.
Add 5-10 cm on each side to ensure the blinds fully cover the window and overlap the frame for a seamless look.
B. Measure the Height
Measure the height from the top of where you want the blinds to be mounted to the bottom. Depending on where to install the blinds, start from the top of the window frame or higher and measure down to the desired length.
Add extra height to cover the window entirely and ensure the blinds extend past the window sill or down to the floor if preferred.
Common Measurement Mistakes to Avoid
Avoid these common mistakes to ensure precise measurements for your mini blinds:
- Using the Wrong Type of Tape Measure: Always use a steel tape measure for accuracy. Fabric or plastic tape measures can stretch and provide incorrect readings, leading to ill-fitting blinds.
- Not Measuring at Multiple Points: For inside mounts, measure width and height at three points (top, middle, bottom for width; left, centre, suitable for height). Use the smallest width and most extensive height measurements to account for any irregularities in the window frame.
- Ignoring Window Depth: Measure the depth of the window frame to ensure it can accommodate the blinds’ hardware. Most inside mounts require a minimum depth for proper installation. Check the manufacturer’s specifications to ensure compatibility.
- Rounding Measurements: Record exact measurements to the nearest millimetre. Rounding up or down can result in too-tight or too-loose blinds, affecting their functionality and appearance.
- Overlooking Obstacles: Account for window handles, locks, or other obstructions that might interfere with the blinds. Measure around these features to ensure a proper fit and smooth operation.
- Assuming Standard Sizes: Measure each window individually, as slight variations can affect the fit. Do not rely on standard sizes; custom measurements are crucial for a perfect fit.
- Not Double-Checking Measurements: Double-check all measurements before placing your order. Verifying your measurements can prevent costly errors and ensure your blinds fit perfectly.
Conclusion
Accurate measurements are the key to perfectly fitting mini blinds. By following this guide, you ensure a seamless fit and optimal functionality.
Ready to upgrade your windows but feel like it will be tedious work?
Get our free quote and measure on any custom blinds, curtains or sheers now!

