Are you struggling with roller blinds that won’t roll up, have creased fabric, or a broken chain? You’re not alone—these issues are common and frustrating.
Ignoring these problems can lead to further damage, compromising both the functionality and aesthetics of your blinds.
With the right tools and expert tips, you can fix these issues like a pro, saving time and money.
Common Roller Blind Issues and Their Causes
Roller blinds can experience various issues over time, affecting both their functionality and appearance. Below are some of the most common problems and their causes:
- Blinds refusing to roll up or down: Often caused by a misaligned or jammed roller mechanism due to dust, debris, or wear and tear. The tension spring inside the roller tube may also lose tension, causing uneven rolling.
- Fabric wrinkling or creasing: Typically results from improper handling, prolonged exposure to heat, or poor storage, leading to unsightly creases that are difficult to remove.
- Chain or cord malfunctions: Chains or cords can become tangled, frayed, or snap under excessive force. This is often due to a worn or damaged chain drive or clutch mechanism.
- Roller blind fabric detaching from the tube: Over time, the adhesive that holds the fabric to the roller tube can weaken, causing the fabric to peel away. This can lead to uneven rolling or the fabric completely detached from the tube.
- Blinds rolling up crooked: This issue usually occurs if the fabric has shifted on the roller or if the roller is not level. It can cause the blind to roll unevenly, with one side higher than the other.
- Blinds making noise when operated: Noisy blinds can be caused by a lack of lubrication in the roller mechanism, debris in the track, or a loose chain drive. This can make the blind’s operation less smooth and more irritating.
- Stiff or hard-to-operate blinds: This can happen if the roller mechanism is dirty, worn, or lacks proper lubrication. Stiff operation can make it difficult to adjust the blinds and can lead to further wear on the mechanism over time.
Tools You’ll Need
Equipping yourself with the right tools is crucial to tackle roller blind repairs like a professional. Here’s a list of essential tools you’ll need:
- Screwdriver Set: A high-quality set with both flathead and Phillips screwdrivers is crucial; roller blinds are often secured with various screws, so having these tools will cover most of your needs.
- Pliers: Pliers are essential for tasks like adjusting or replacing chains and cords; they provide the precise grip necessary for these delicate tasks.
- Tape Measure: Ensures accurate alignment during reinstallation; nothing disrupts the aesthetic of your blinds like a crooked installation.
- Fabric Adhesive or Double-Sided Tape: Useful for quick repairs of fabric-related issues; perfect for fixing small tears or reattaching loose edges to keep your blinds looking pristine.
- Low-Heat Iron or Hairdryer: Helpful for smoothing out wrinkles or creases in the fabric; proceed with caution to avoid damaging the material.
- Replacement Parts: Keep a selection of chains, brackets, and tensioners on hand; these parts can wear out or break over time, and having spares ensures you can complete repairs without delays.
Having these tools ready will get you prepared to handle a wide range of roller blind issues with the confidence and precision of a pro.
Step-by-Step Guide to Fixing Roller Blinds
1. Fixing a Blind That Won’t Roll Up or Down
When your roller blind refuses to roll up or down, it can be more than just an inconvenience—it can disrupt your daily routine. However, this issue is usually straightforward to resolve with a few targeted steps.
Start by checking the mounting brackets. Over time, these can become loose or misaligned, preventing the blind from moving smoothly. Use a screwdriver to tighten any loose screws and ensure the brackets are securely attached to the wall or window frame. If the brackets are bent or damaged, they may need to be replaced with new ones.
Next, inspect the roller mechanism itself. Dust, dirt, or debris can accumulate inside the roller tube, causing it to jam. Carefully remove the blind from its brackets and clean the roller tube and mechanism with a dry cloth or a small brush. If the mechanism appears worn or damaged, it might be necessary to replace the roller tube or the entire mechanism.
After cleaning, adjust the tension of the roller by rotating the tube slightly. This tension adjustment is crucial for ensuring the blind rolls evenly and smoothly. You may also need to check the tension spring inside the roller tube.
If the spring has lost its tension, consider replacing it to restore proper operation. Test the blind’s movement after each adjustment, and continue fine-tuning until the blind operates correctly.
2. Straightening Wrinkled or Creased Fabric

Wrinkled or creased fabric on your roller blinds can significantly detract from their appearance, making even the most stylish blinds look worn and unattractive. Fortunately, these issues can often be remedied with a little care and attention.
Begin by carefully removing the blind from its brackets. Lay the blind flat on a clean, smooth surface, ensuring that the fabric is fully extended and not bunched up. Use a soft cloth to gently press down on the wrinkled areas, smoothing them out with steady, even pressure. Be patient during this process—rushing can lead to further creasing.
For more stubborn wrinkles or creases, consider using a low-heat iron. Place a thin cloth or towel over the fabric to protect it, and gently iron over the wrinkled areas.
Alternatively, a hairdryer set to a low heat setting can also be effective. Hold the hairdryer a few inches away from the fabric and move it slowly across the creased areas, using your other hand to smooth the fabric as you go.
If the fabric has detached from the roller tube, carefully reattach it using fabric adhesive or double-sided tape. Ensure the fabric is aligned correctly and that it adheres evenly across the entire length of the tube.
Once you’ve removed the wrinkles and reattached any loose fabric, allow it to cool and settle before reattaching the blind to its brackets. Finally, test the operation of the blind to ensure it rolls smoothly and that the fabric remains taut.
3. Repairing or Replacing the Chain or Cord
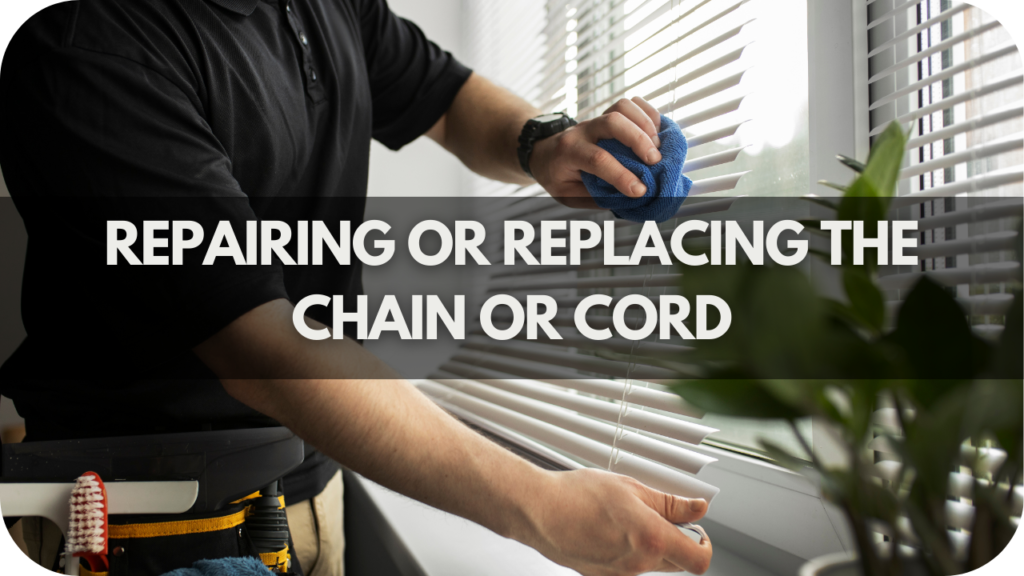
A malfunctioning chain or cord can render your roller blind unusable, but with the right approach, you can easily fix this issue and restore your blind to full functionality.
Start by carefully examining the chain or cord for any signs of wear and tear. Look for frayed sections, knots, or areas where the cord may have become tangled or twisted. If the chain or cord is simply stuck, gently untangle it and test the blind’s movement to see if the problem is resolved.
You may also find that the chain or cord is making noise when operated, which could be due to debris or a lack of lubrication in the mechanism. If so, clean the mechanism thoroughly and apply a silicone-based lubricant.
If the chain or cord is damaged beyond repair, it will need to be replaced. Begin by removing the old chain or cord from the roller mechanism. This may require using a screwdriver to access the internal components of the mechanism. Take note of how the chain or cord is attached, as you will need to replicate this configuration when installing the new one.
Once the old chain or cord has been removed, thread the new chain or cord through the mechanism, ensuring it is properly aligned and securely fastened.
If you are replacing a chain, make sure it is the correct length and type for your specific roller blind. After the new chain or cord is in place, reassemble the mechanism and test the blind’s operation.
If the blind is still stiff or difficult to operate, check the roller tube and tension spring once more. In some cases, the problem may lie in the roller mechanism itself, which might require replacement.
4. Fixing a Crookedly Rolling Blind
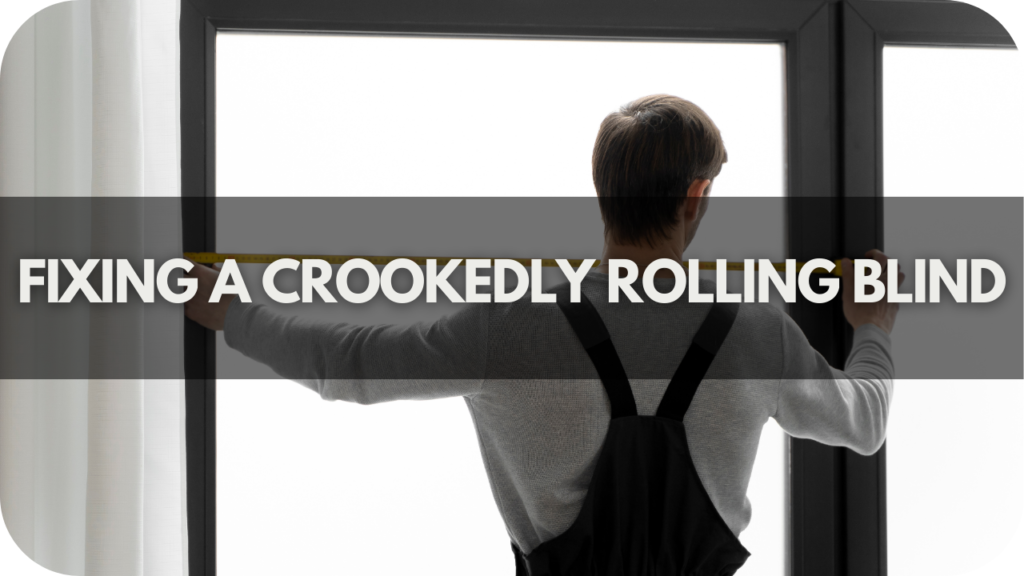
A blind that rolls up crookedly can be frustrating and can make your blinds look uneven and unprofessional. Fortunately, this issue is usually easy to fix.
Start by checking the alignment of the roller tube. If the tube is not level, it can cause the blind to roll unevenly. Use a spirit level to ensure the roller tube is perfectly horizontal. If it’s not, adjust the mounting brackets accordingly.
Next, inspect the fabric to see if it has shifted on the roller. If the fabric isn’t centered, it can cause one side of the blind to roll up higher than the other. To correct this, remove the blind from its brackets and carefully realign the fabric on the roller tube. You might need to unroll and re-roll the fabric to ensure it’s evenly distributed across the tube.
After making these adjustments, reattach the blind to the brackets and test the operation. If the blind still rolls up crookedly, you may need to adjust the tension in the roller mechanism or replace worn components that could be causing the misalignment.
Pro Tips for Maintaining Your Roller Blinds
To keep your roller blinds in top condition and avoid unnecessary repairs, it’s important to follow some expert maintenance tips that can extend their lifespan and ensure smooth operation:
- Avoid Excessive Sun Exposure: Prolonged exposure to direct sunlight can cause the fabric to fade or weaken over time. Consider using a sheer curtain or a UV-protective film on your windows to reduce sun damage and extend the life of your blinds.
- Handle with Care: When adjusting or rolling up your blinds, do so gently to avoid straining the roller mechanism or fabric. Sudden, forceful movements can lead to tears in the fabric or damage to the internal components of the blind.
- Check for Moisture Damage: In humid environments or areas prone to condensation, moisture can seep into the roller mechanism or fabric, leading to mould growth or rust. Regularly inspect your blinds for signs of moisture damage and address any issues promptly by ensuring good ventilation or using a dehumidifier.
- Prevent Over-Rolling: Avoid rolling the blind too tightly when raising it, as this can cause the fabric to stretch or the roller mechanism to jam. Leave a slight gap at the top when rolling up the blind to prevent tension-related issues.
- Protect Against Pets and Children: If you have pets or small children, consider installing a chain safety device or cord cleat to keep the chain or cord out of reach. This not only ensures safety but also prevents accidental damage to the blinds.
- Rotate Blinds Seasonally: Consider rotating or adjusting them seasonally for blinds installed in areas with varying seasonal temperatures. This helps distribute wear evenly across the fabric and mechanism, reducing the chances of specific areas becoming overly worn or damaged.
- Store Spare Parts: Keep a small supply of spare parts, such as chains, brackets, and tensioners, on hand. Having these readily available allows you to quickly address minor repairs before they escalate into more significant issues.
- Check for Fabric Detachment: Periodically check that the fabric is securely attached to the roller tube. If you notice any detachment, reapply fabric adhesive or double-sided tape to prevent further separation, which can lead to uneven rolling or complete fabric detachment.
When to Call a Professional
While many roller blind issues can be fixed with a bit of DIY effort, there are times when calling in a professional is the best course of action.
If you encounter complex problems such as a broken roller mechanism, damaged fabric that goes beyond simple repairs, or a misalignment that can’t be corrected with basic adjustments, it’s time to seek professional help. Attempting to fix these issues without the proper tools or expertise can lead to further damage and increased repair costs.
Custom blinds, especially those with motorised systems or unique installations, also warrant professional attention. These types of blinds often require specialised knowledge and tools to repair correctly, and a mistake during the repair process could result in costly damage or the need for a complete replacement.
Additionally, if your blinds are still under warranty, attempting to repair them yourself could void the warranty. In such cases, it’s best to contact the manufacturer or a qualified professional who can perform the repairs in a way that maintains your warranty coverage.
Knowing when to call a professional can save you time and money and the frustration of dealing with repairs that are beyond your skill set, ensuring your roller blinds are restored to their full functionality without further complications.
Conclusion
Fixing roller blinds doesn’t have to be daunting. You can handle most issues like a pro with the right tools and guidance.
Don’t wait—take action today to restore your blinds to their full functionality. And remember, if the problem seems too complex, a professional is just a call away. Your blinds deserve the best care.

