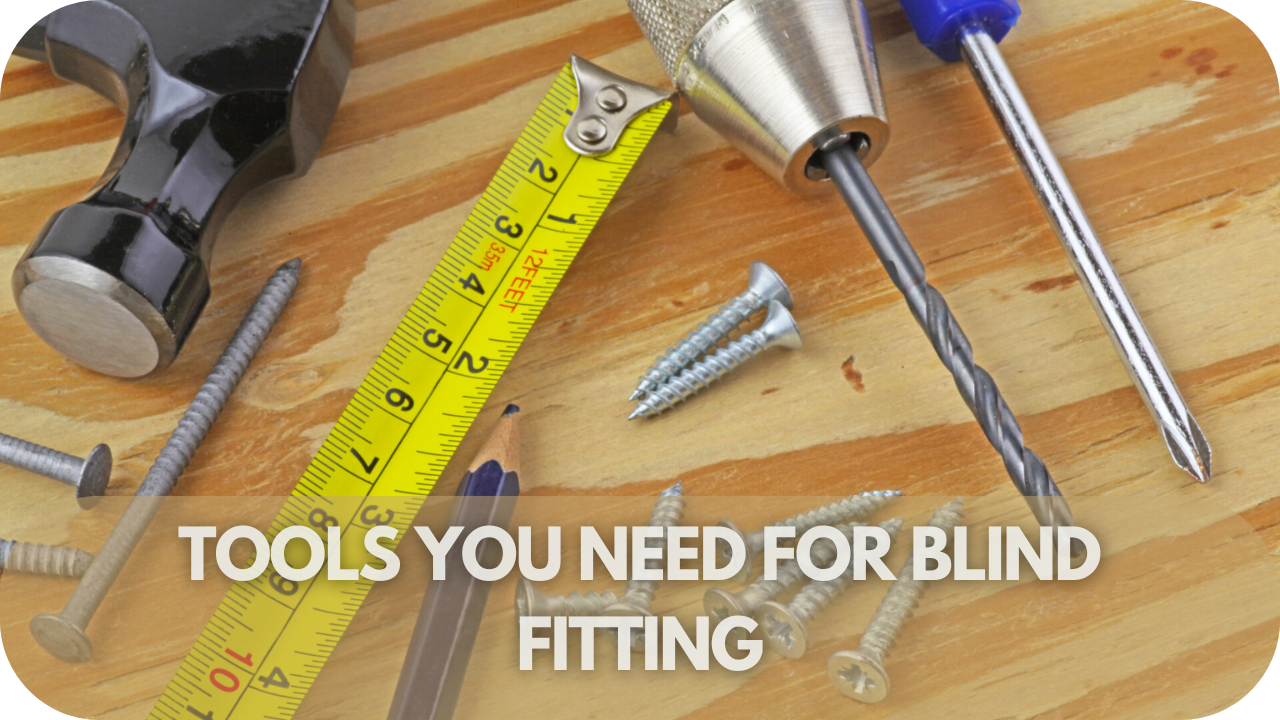
Have you ever tried fitting blinds to realise you’re missing an essential tool? It’s more than just a drill and a screwdriver! With the right tools, you’ll make the job easier and achieve a professional finish.
Whether you’re tackling roller blinds, Venetians, or shutters, having the proper equipment makes all the difference. Let’s look into the must-have tools that’ll make your next blind fitting in Melbourne a breeze – so you can enjoy perfectly dressed windows without the hassle.
Ready to get started?
1. Tape Measure
A tape measure is essential for blind fitting, ensuring precise measurements for a perfect fit. Accurate dimensions are critical for avoiding gaps, misalignment, or poorly functioning blinds.
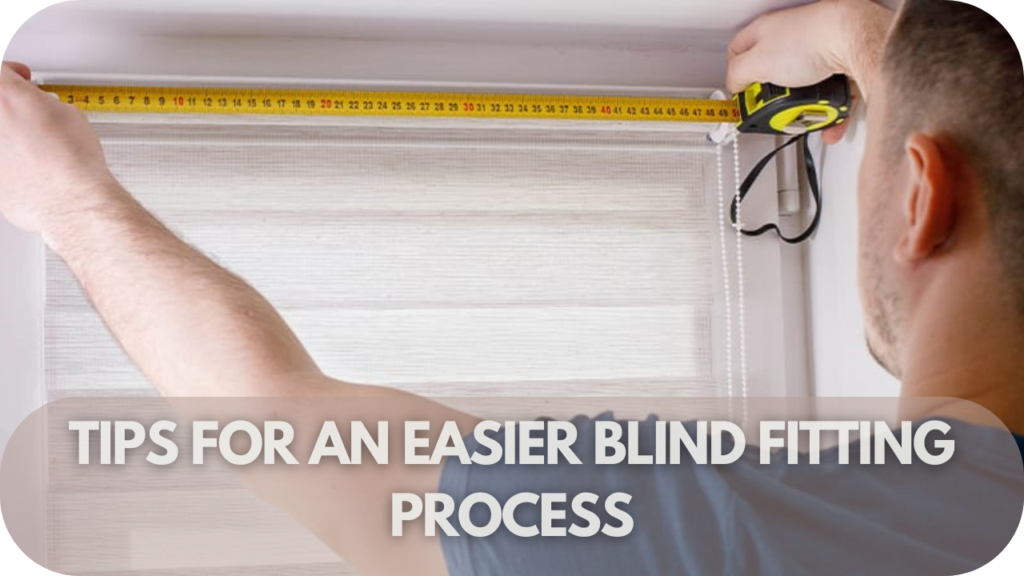
Use a sturdy, retractable tape measure with metric and imperial units for best results. Start by measuring the window’s width at the top, middle, and bottom, as variations can occur. Note the narrowest width for inside-mounted blinds.
Measure the height from the top to the sill on both sides and the centre. Add extra width and height for full coverage if fitting outside the frame.
A reliable tape measure helps achieve a seamless, tailored look for any blind type. By prioritising accuracy, you save time, reduce errors, and always ensure a professional result.
2. Spirit Level
A spirit level is crucial for ensuring blinds are perfectly straight during installation. Misaligned blinds can look uneven and affect functionality. This tool helps you check that brackets and headrails are level, guaranteeing a professional finish.
To use it, place the spirit level along your mounting points before drilling. Confirm the bubble stays centred to ensure alignment. For larger windows, check multiple points to avoid sloping. A sturdy, clear-marked spirit level is ideal, while digital versions offer even greater precision.
3. Measuring Square
A measuring square is essential for achieving precise right angles during blind installation. It ensures that window corners and bracket placements are perfectly aligned, preventing uneven blinds and fitting issues.
To use a measuring square, place it in each corner of the window frame or along your marked bracket points. Adjustments are needed to maintain accuracy if there’s a gap between the square and the surface. This tool is invaluable for recessed blinds or uneven surfaces where alignment is critical.
Opt for a durable measuring square with clear markings in both metric and imperial units for versatility. Verifying that all angles are correct ensures the blinds hang evenly and operate smoothly. Incorporating a measuring square guarantees a seamless, professional finish every time.
4. Hacksaw
A hacksaw is handy for cutting blinds to the exact size, especially when fitting metal or plastic components like headrails and brackets. When blinds are slightly too wide for your window, a hacksaw provides clean, precise cuts without damaging the material.
Use a hacksaw to measure and mark the area that needs trimming. Secure the component in a vice or with a clamp to prevent movement. Use steady, even strokes with the hacksaw to achieve a smooth, straight edge. For a professional finish, lightly sand the cut area to remove any rough edges or burrs.
Choose a hacksaw with a fine-toothed blade for cleaner cuts on delicate materials. It’s a versatile tool that ensures your blinds fit perfectly, especially for custom installations. With a hacksaw, you can make the necessary adjustments for a flawless result.
5. Power Drill
A power drill is a must-have tool for fitting blinds efficiently and securely. It simplifies drilling holes for brackets, ensuring they are fixed firmly to walls, window frames, or ceilings.
Unlike manual tools, a power drill saves time and effort, especially when dealing with hard surfaces like brick, wood, or concrete.
When selecting a power drill, opt for a cordless model for ease of movement, especially in tight spaces. Ensure it has adjustable speed settings to control drilling precision based on the material.
For blind installation, pairing your drill with the correct drill bits ensures clean, accurate holes that accommodate screws perfectly.
Using a power drill guarantees stability and strength for blind brackets, preventing installation mishaps. Whether fitting roller blinds, Venetian blinds, or Roman shades, this tool makes the process smooth and hassle-free, delivering a professional finish every time.
6. Drill Bits and Screws
Drill bits and screws are crucial for securely fixing blind brackets to walls or window frames. The right combination ensures a sturdy and reliable installation, preventing brackets from loosening over time.
Choose drill bits based on the surface material. For plasterboard or wood, standard bits work well, while brick, concrete, or masonry require specialised masonry bits. Ensure the drill bit size matches the screw diameter to achieve a snug fit.
Screws must be strong and long enough to support the weight of the blinds. Pair them with wall plugs for added stability when working with hollow or plaster walls—pre-drill holes to prevent cracks or misalignment.
7. Screwdriver/Cordless Screwdriver
A screwdriver or cordless screwdriver is essential for securing brackets and components when fitting blinds. While a manual screwdriver works for small tasks, a cordless screwdriver offers speed, convenience, and reduced effort, especially for multiple installations or tougher surfaces.
Cordless screwdrivers are ideal for quickly tightening screws into brackets, headrails, and other blind components. Look for models with adjustable torque settings to avoid over-tightening and damaging materials. A magnetic tip can also help keep screws in place, ensuring smooth operation.
For precision work, keep both a flathead and Phillips head screwdriver on hand to match different screw types.
Using a screwdriver or cordless alternative ensures a secure fit for blinds, improving efficiency while delivering a polished, professional finish.
8. Step Ladder
A step ladder is vital for blind fitting, providing safe and stable access to higher windows and mounting areas. It eliminates the need for risky improvisation, ensuring you work comfortably and securely at the required height.
Choose a sturdy, well-built step ladder with non-slip feet and wide steps for safety and stability. A lightweight aluminium model is ideal for easy portability, while a folding design allows for convenient storage. Ensure the ladder is tall enough to reach the installation point without overreaching, which can compromise safety.
Position the step ladder on a flat, stable surface before starting work. By using a reliable step ladder, you not only make blind installation easier but also ensure a smooth and professional finish while keeping safety a priority.
9. Cleaning Supplies
When fitting blinds, having the right cleaning supplies ensures the installation area is prepared, tidy, and free from dust or debris. A clean surface makes the fitting process smoother and ensures your blinds look their best once installed.
Start with a microfibre cloth to wipe down window frames, sills, and walls. Microfibre is gentle, won’t scratch surfaces, and effectively traps dust. For stubborn grime or dirt, a mild cleaning solution or soapy water can be used to clean the area thoroughly. Avoid harsh chemicals, which can damage paint, finishes, or delicate surfaces.
A vacuum cleaner with a brush attachment is perfect for removing dust around the installation site, particularly in crevices or carpeted areas. If working near freshly painted walls, ensure the vacuum does not mark surfaces.
Don’t forget a dustpan and brush to quickly clean up debris like drill dust, ensuring no mess is left behind. For a professional finish, keep glass cleaner on hand to polish any window panes, leaving them streak-free and sparkling.
Tips for an Easier Blind Fitting Process

Fitting blinds can be straightforward with the right approach and preparation. Here are essential tips to make the blinds installation more accessible and more efficient:
- Double-Check Measurements: Carefully measure each window’s width, height, and depth, and double-check before cutting or installing to avoid costly mistakes.
- Mark Key Points: Use a pencil to mark important points on the wall or frame to ensure the accurate placement of brackets and fixtures and a precise installation.
- Gather Tools and Materials: Have all tools and materials ready in one place to save time and avoid interruptions during the fitting process.
- Use a Spirit Level: Check alignment as you install to ensure blinds are perfectly straight. Even a slight misalignment can impact appearance and functionality.
- Secure Brackets Properly: If drilling into masonry, use appropriate wall plugs and drill bits to keep brackets firmly in place.
- Work Safely on a Ladder: Use a sturdy ladder to avoid overreaching and maintain balance and safety when performing overhead work.
- Take Your Time: Align and secure each component carefully—rushing can lead to more difficult errors to fix later.
- Seek Help if Needed: If the installation seems too complex or you have large or uniquely shaped windows, seeking professional help can save time and ensure a flawless fit. Experts have the tools and experience to handle challenges, leaving you with perfectly installed blinds.
Conclusion
With the right tools, fitting blinds becomes straightforward and precise, enhancing your space’s appearance and functionality. From measuring to finishing, each tool ensures a secure, professional installation.
Ready to tackle your blind fitting? Equip yourself with these essentials for flawless results. Trust Into Blinds Melbourne to consistently achieve the perfect fit for the best professional installation.


