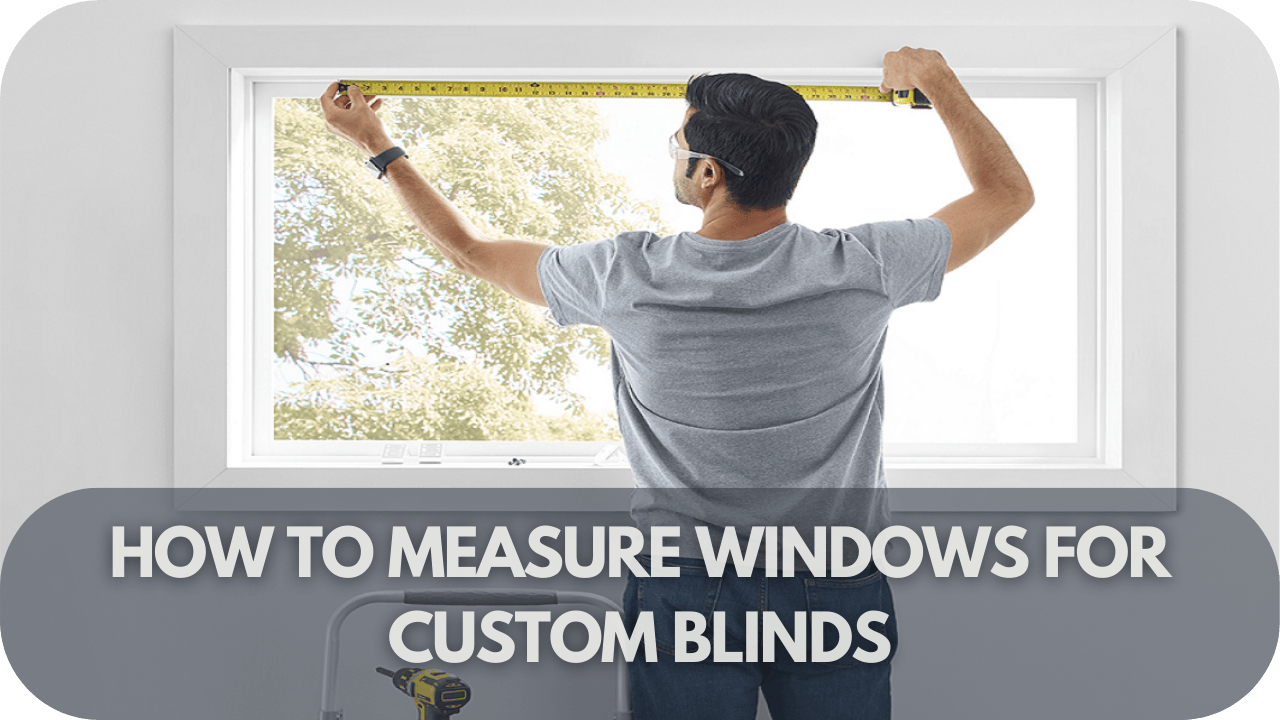
Incorrectly measuring your windows for custom blinds and shades can lead to poor fitting and wasted money.
Misfit blinds and shades look unsightly and must function correctly, causing frustration and extra costs.
This guide provides a step-by-step process to measure your windows accurately, ensuring a perfect fit and seamless installation for your custom blinds and shades. Follow our expert tips to achieve professional results and transform your space.
Tools You’ll Need
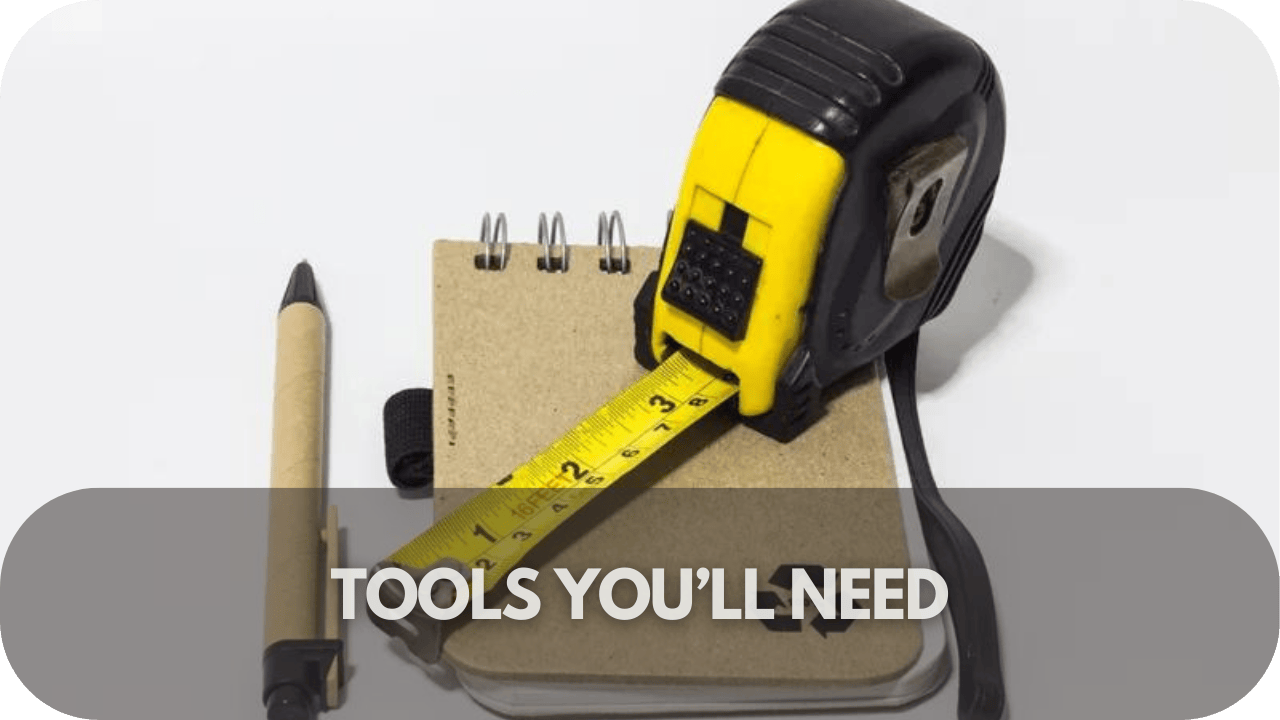
Measuring your windows accurately is crucial for ensuring a perfect fit for your custom blinds and shades. The right tools will make the process easier and more precise. Here’s a list of essential tools you’ll need:
- Metal Measuring Tape
- Pencil and Paper
- Step Ladder
- Spirit level
Types of Mounts
Selecting the suitable mount for custom blinds and shades is essential for achieving the desired look and functionality. There are two main types of mounts: inside mount and outside mount.
Inside Mount
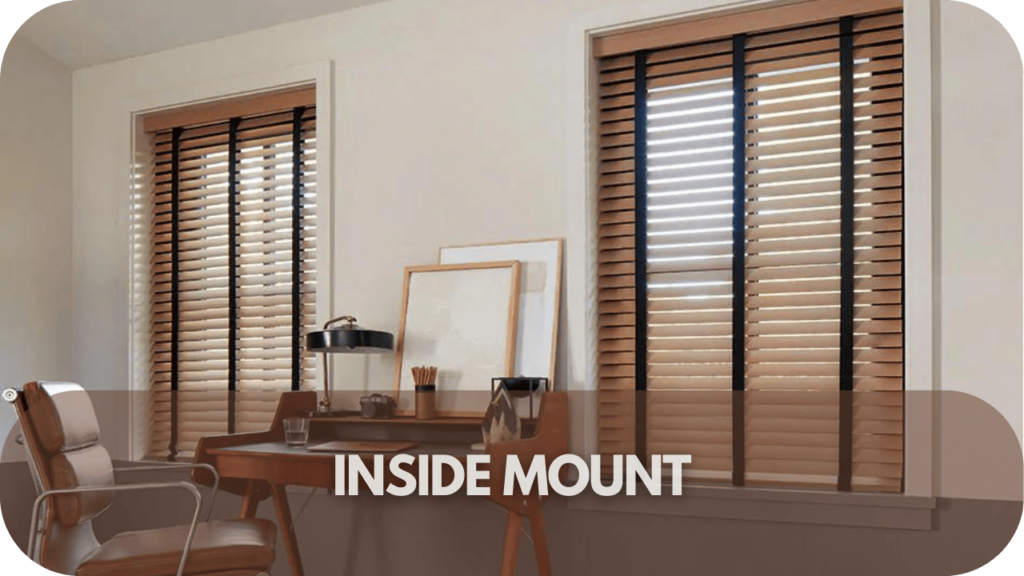
This method involves installing the blinds or shades within the window frame. Inside mounts provide a sleek, clean look as the window treatment sits flush with the frame. They are ideal for windows with deep frames and offer a more streamlined appearance.
When measuring for an inside mount, it’s crucial to take precise measurements of the window’s width, height, and depth to ensure a snug fit. Be aware that any obstructions inside the frame, such as window handles or locks, may affect the installation.
Outside Mount
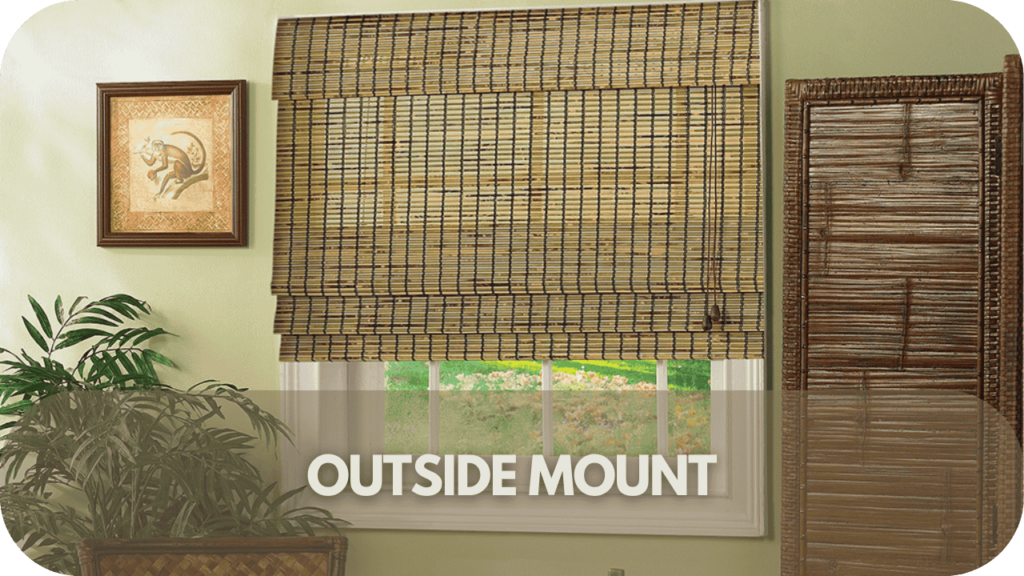
Outside mounts are installed on the wall or trim outside the window frame. This option is suitable for windows with shallow frames or for making a window appear more prominent.
Outside mounts can also effectively cover unattractive window features or provide better light control by reducing gaps. When measuring for an outside mount, you must account for the desired overlap on all sides of the window to ensure complete coverage and optimal functionality.
Measuring Inside Mount
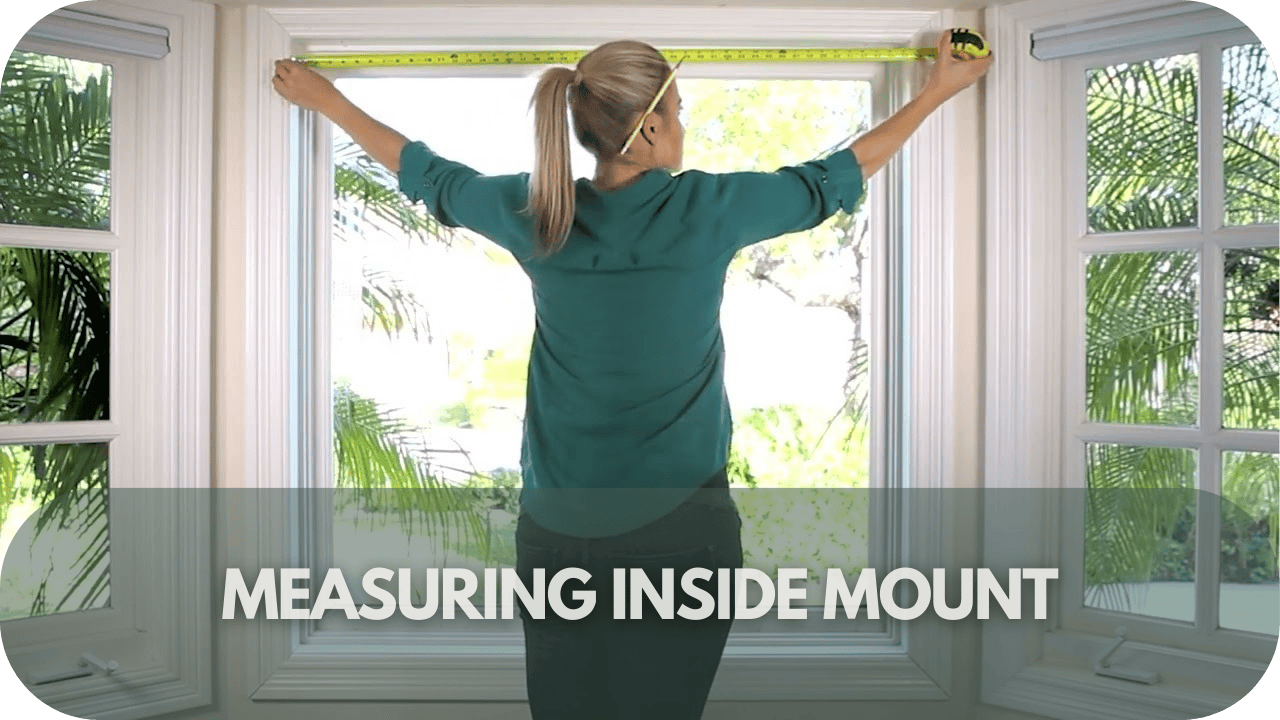
Measuring your windows for an inside mount is essential for a sleek and tailored look. These steps ensure your custom blinds and shades fit perfectly within the window frame.
Step 1: Measure the Width
To ensure a perfect fit for inside-mount blinds, measure the window’s width at the top, middle, and bottom. Use a metal tape and record the narrowest measurement, as it reflects the tightest part of the frame. Round to the nearest 1/8 inch for precision and ensure a seamless fit within the frame.
Step 2: Measure the Height
For accurate height measurement, measure from top to bottom on the window frame’s left, middle, and right sides. Record the longest measurement to guarantee full coverage. Double-check your measurements to ensure precision and round up to the nearest 1/8 inch if needed, ensuring your blinds provide complete window coverage.
Step 3: Measure the Depth
Measure the window frame’s depth at three points (top, middle, and bottom) to ensure the blinds fit inside the frame. Compare your measurements to the manufacturer’s depth requirements, recording the most minor depth for a flush fit. Ensuring the frame meets the minimum depth requirement guarantees the blinds won’t protrude beyond the window.
Step 4: Record Your Measurements
Carefully document each width, height, and depth measurement for accuracy. Use the narrowest width, most extended height, and most minor depth to ensure your blinds fit perfectly. Double-check all measurements to avoid errors, and ensure they meet the manufacturer’s specifications to achieve a sleek, professional look for your inside-mount blinds or shades.
Measuring for Outside Mount
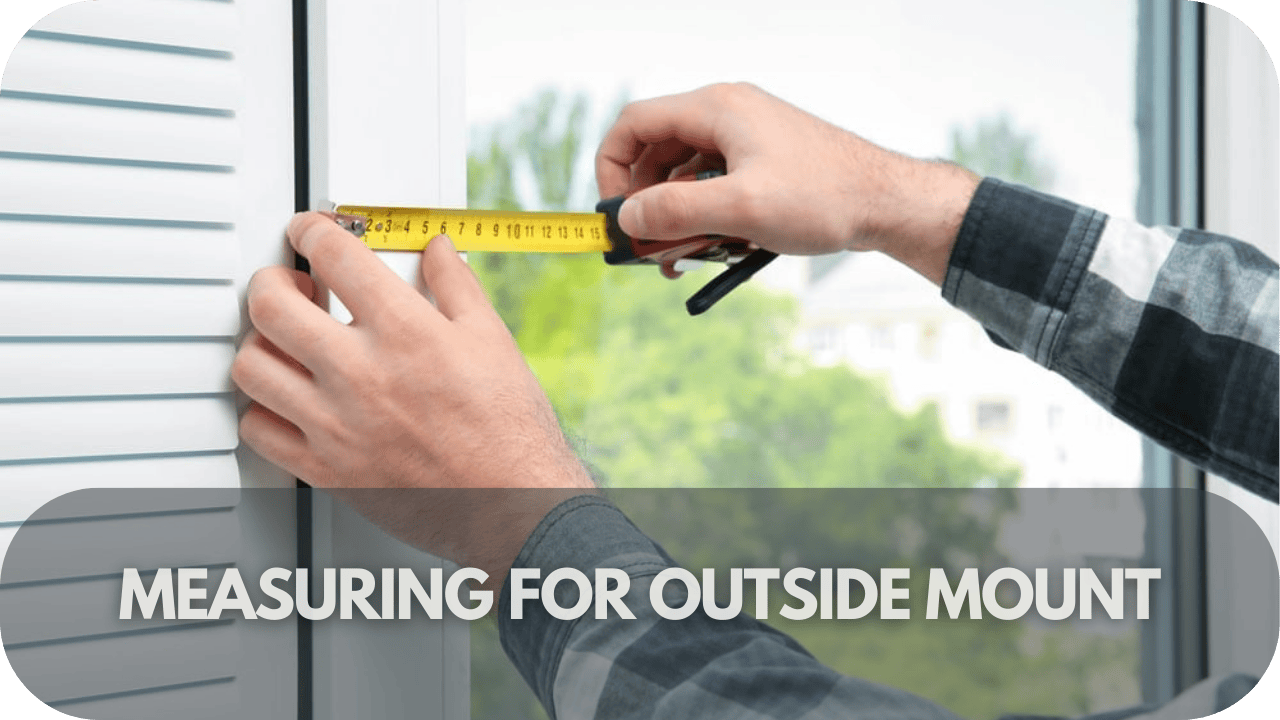
Measuring your windows for an outside mount is crucial to ensure your custom blinds and shades provide full coverage and a perfect fit.
Step 1: Measure the Width of the Window Frame
Using a metal measuring tape, measure the width of the area you want your blinds or shades to cover. Measure from one edge of the window frame to the other, including any overlap on both sides, for better light control and privacy. A recommended overlap is 5 to 7 cm on each side.
Step 2: Record the Width Measurement
Once you’ve measured the width, record the measurement accurately. Include the overlaps you’ve decided on in your notes and clarify this.
Step 3: Measure the Height of the Window
Now, measure the height of your window, starting from the top where you want to mount the blinds or shades. Measure down to the bottom of the window, including any overlap you wish to below the window sill. Typically, this is 5 to 7 cm below the sill for an outside mount.
Step 4: Check for Obstructions
Before finalising your height and width measurements, ensure no obstructions such as handles, mouldings, or other fixtures could interfere with the mounting. Adjust your measurements as needed to accommodate these elements.
Step 5: Double-check and Label Your Measurements
Finally, double-check all your measurements to ensure they are accurate. Clearly label each dimension—width and height—to avoid confusion when placing your order.
Special Window Types

Measuring particular window types, such as bay windows, arched windows, and skylights, requires precision and attention to detail. These windows often have unique shapes and angles, making standard measurement techniques insufficient.
- Bay Windows: To measure bay windows accurately, measure each section individually. Start by measuring the width of each window pane from edge to edge. Then, measure the height from the top edge to the sill. For a cohesive look, ensure you account for any trim or moulding that might affect the blind’s fit.
- Arched Windows: For arched windows, measure the width at the arch’s base. Next, measure the height from the base to the arch’s highest point. If the arch is part of a larger window, measure the rectangular portion first and then the arched section separately.
- Skylights: When measuring skylights, measure the width and height from the inside edges of the window frame. Consider the angle and depth of the window to ensure a snug fit for the blinds or shades.
Tips for Accurate Measurements
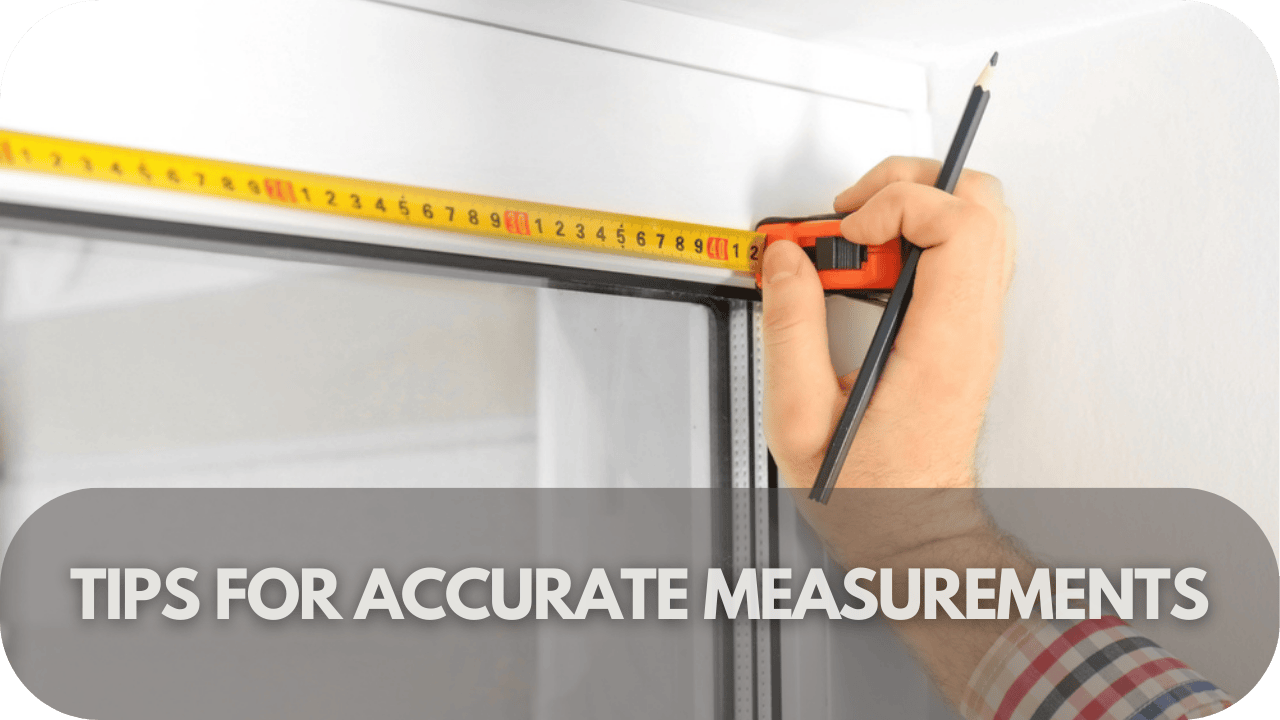
Accurate measurements are the cornerstone of custom blinds and shades that look and function flawlessly. Avoid costly mistakes and ensure a seamless installation by following these tips:
- Equip Yourself: A steel tape measure (at least 5m long) is essential for precision. A spirit level or straight edge helps with alignment on more oversized windows. Keep a notepad and pen handy to record measurements in the W x H (width by height) format.
- Double-check: Measure twice to be specific! Take measurements at multiple points (top, middle, bottom for width; left, middle, right for height) to account for any variations in your window frame. Use the smallest width and most significant height measurements.
- Inside vs Outside Mounts: Inside mounts require precise measurements of the window opening’s width, height, and depth. For outside mounts, measure the area you want the blind to cover, adding extra width and height for desired overlap.
- Don’t Forget Depth: Check the minimum depth required for your chosen blinds, especially for inside mounts. If your window frame lacks sufficient depth, consider an outside mount.
- Mind the Obstacles: Account for window handles, cranks, or other obstructions that might interfere with the blinds’ operation, and factor in the space needed for clearance.
- Record with Care: Use millimetres for the most accurate measurements. Double-check your figures before placing your order to avoid costly errors.
Common Mistakes to Avoid
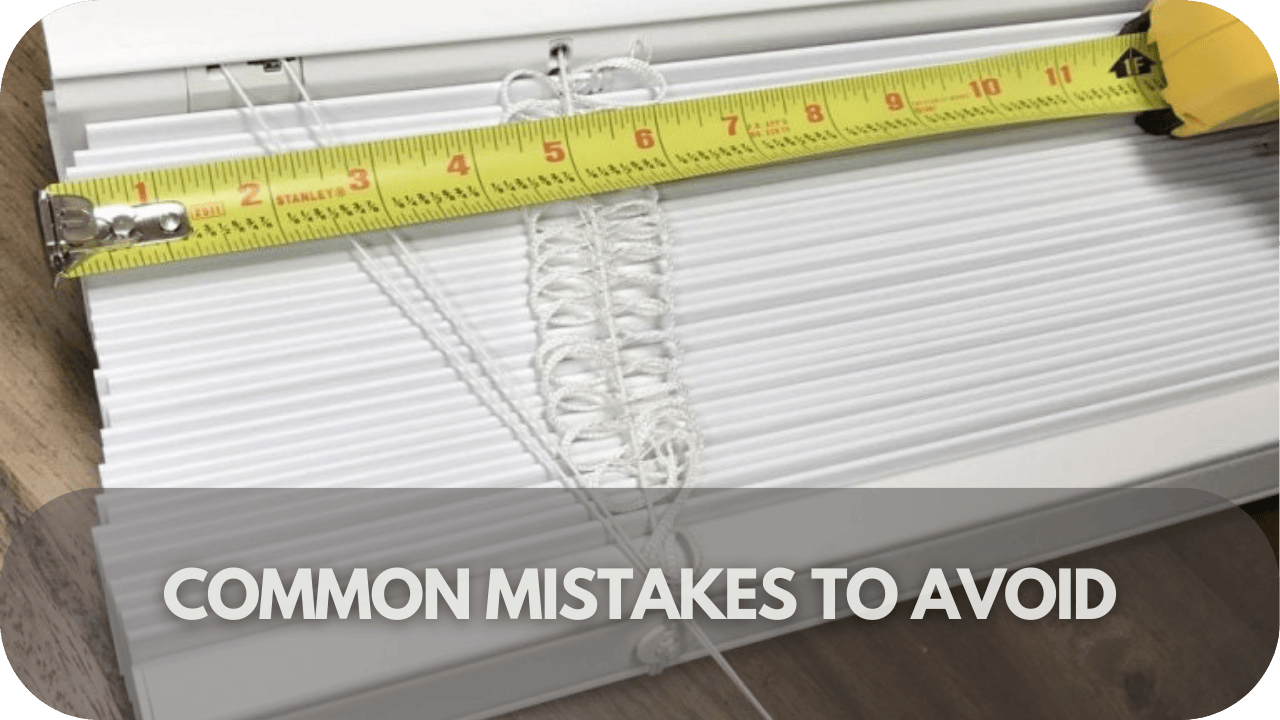
Precision is crucial when measuring windows for custom blinds and shades. Avoid these common mistakes to ensure a perfect fit and flawless installation.
- Incorrect Measurements: One of the most frequent errors is measuring inaccurately. Always use a steel tape measure for precision. Measure the width and height at three points (top, middle, and bottom) and use the smallest and largest measurements for width.
- Rounding Measurements: Never round up or down your measurements. Even minor discrepancies can lead to ill-fitting blinds—record measurements to the nearest millimetre for the best results.
- Ignoring Depth Requirements: Blinds and shades require a certain depth for inside mounts. Check the product specifications to ensure your window frame has enough depth to accommodate the chosen treatment.
- Overlooking Obstructions: Pay attention to window handles, cranks, and other obstructions that might interfere with the blind’s operation. Measure around these features to ensure a proper fit.
- Forgetting to Account for Trim: If your windows have decorative trim or moulding, factor this into your measurements. Failing to do so can result in too-small blinds or awkward hanging.
Conclusion
With the proper measurements, you’re one step closer to transforming your space with custom blinds and shades. Don’t rush the process—precision is vital to a flawless installation!
Need help choosing the right window treatments? Contact our experts today and book a free quote and measure for personalised products!