Struggling to fit blinds correctly can lead to frustrating results and wasted time. Even with the proper tools and techniques, your blinds might not fit well, affecting their functionality and appearance.
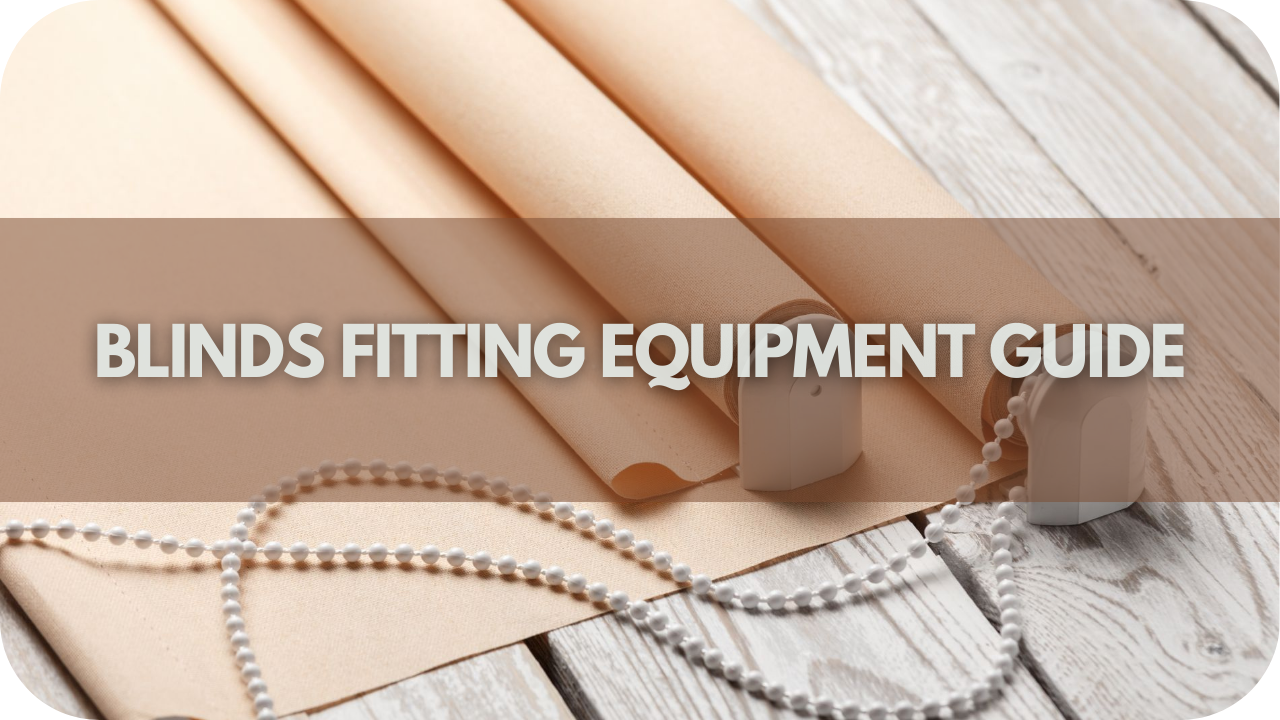
Our Detailed Blinds Fitting Equipment Guide provides essential tools, step-by-step instructions, and practical tips to ensure a smooth and precise installation.
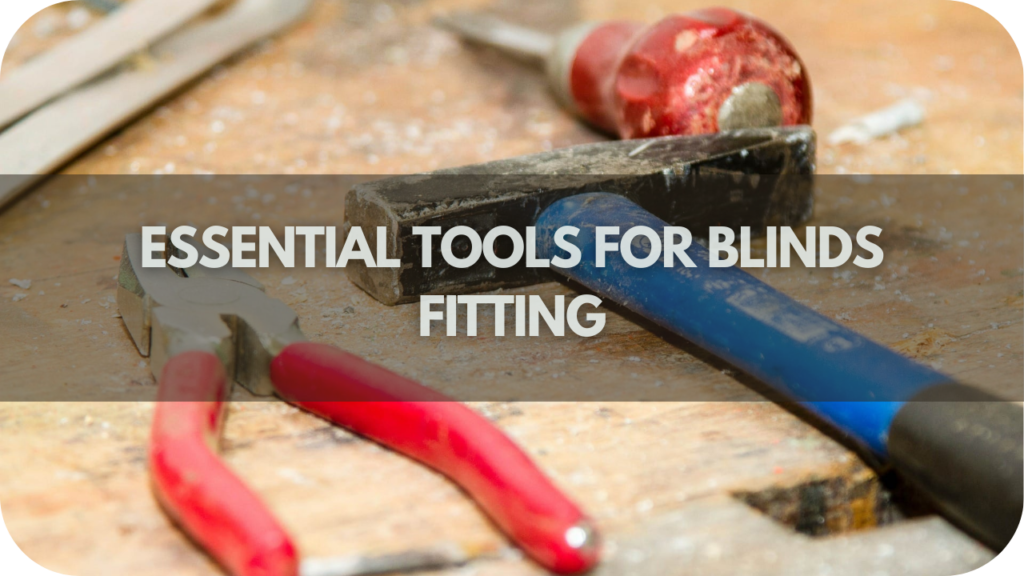
Essential Tools for Blinds Fitting

Getting your blinds fitted correctly starts with having the right tools. Ensuring a smooth installation hinges on understanding each tool’s purpose and proper usage.
Let’s explore the essential tools you’ll need to achieve a flawless fit for your blinds as outlined below:
- Tape Measure: A tape measure is vital for accurately measuring the width and height of your windows. It ensures that your blinds are cut to the correct size for a proper fit. Precise measurements are essential to avoid gaps or overly tight installations.
- Spirit Level: The spirit level checks that your brackets are installed horizontally. Proper alignment is crucial for the blinds to operate smoothly and achieve a uniform, professional appearance. This tool helps prevent crooked or uneven installations.
- Hacksaw: A hacksaw cuts blinds to the correct width, mainly when dealing with metal or wooden blinds. The fine-toothed blade ensures a clean, precise cut for a seamless fit within the window frame.
- Utility Knife: The utility knife is ideal for cutting through fabric or softer materials in some blinds. It allows for precise trimming, especially for Roller or Roman blinds that need adjustments to fit perfectly.
- Scissors: Scissors are used to cut fabric or lightweight materials. They are convenient for trimming excess material from fabric blinds or adjusting the size of pleated or cellular shades, ensuring a custom fit.
- Drill and Bits: A drill with various bits is essential for creating holes in walls or window frames to install brackets. Different bits are required for different wall materials, and the drill facilitates a quicker and more efficient installation.
- Screwdriver: The screwdriver is used for tightening screws into the brackets to secure them firmly in place. Depending on the type of screws provided with your blinds, you may need a flathead or Phillips screwdriver to complete the installation.
- Brackets: Brackets are the hardware components that hold the blinds in position. They are attached to the wall or window frame and must be securely fastened to support the weight of the blinds and prevent sagging.
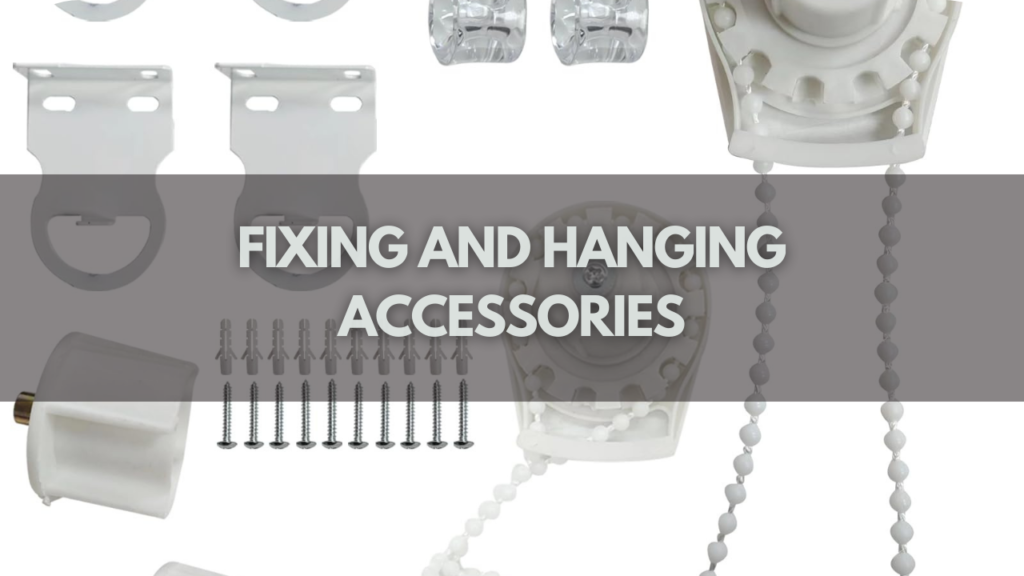
Fixing and Hanging Accessories

Fixing and hanging accessories are crucial in successfully installing blinds, ensuring they are securely mounted and function properly.
Brackets are the primary components that attach blinds to the window frame or wall. It is essential to select brackets that are compatible with your blind type and to install them firmly using appropriate screws or anchors.
Screws and anchors are used to secure the brackets in place, providing stability and preventing the blinds from sagging or falling. Different anchors may be required for optimal support depending on the wall type, such as drywall or masonry.
End caps and cleats are additional accessories that can enhance the functionality and appearance of your blinds.
End caps cover the ends of the blinds’ headrail, offering a neat finish and protecting against damage.
Cleats tie up the cord or chain, keeping it neatly secured and reducing the risk of entanglement or damage.
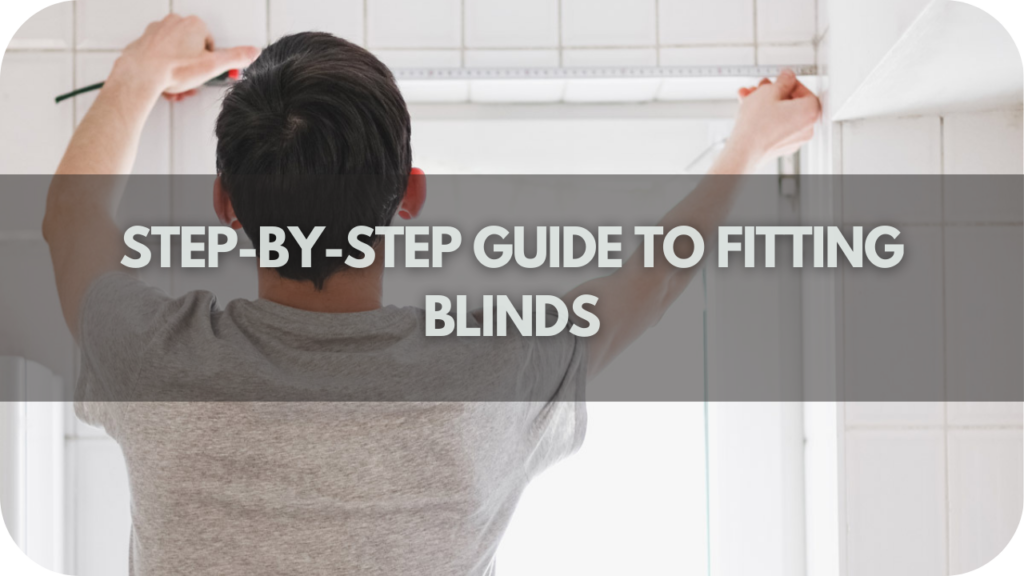
Step-by-Step Guide to Fitting Blinds

Master the art of precise Blind installation with our detailed equipment guide. From essential tools to expert tips, ensure your blinds fit perfectly every time.
Step 1: Measure Your Window
Accurate measurements are the foundation of a successful blind installation. Use a high-quality tape measure to measure both the width and height of your window at three different points: top, middle, and bottom.
This helps account for any slight variations in the window’s shape. Record the smallest measurements to ensure your blinds fit perfectly within the frame.
If installing inside-mounted blinds, subtract a small amount (typically around 10mm) from the width to allow for smooth operation. Add extra width and height for outside-mounted blinds to ensure complete window coverage.
Step 2: Mark Bracket Positions
After determining the exact measurements, the next step is to mark where the brackets will be installed. Hold the brackets up to the window frame or wall and mark the screw holes with a pencil.
Ensure the brackets are placed at equal distances from the window’s edge and aligned to avoid misalignment.
If installing wider blinds, consider placing additional brackets in the middle to provide extra support. Double-check your markings to ensure they are level and evenly spaced.
Step 3: Ensure Level Placement
Before drilling, checking that your bracket markings are perfectly level is crucial. Use a spirit level to verify that the brackets are aligned horizontally.
Place the spirit level across the markings and adjust until the bubble is centred. This step is vital because even slight misalignments can cause your blinds to hang crookedly, affecting appearance and functionality.
If you’re installing multiple blinds side by side, ensure that the top edges are also level with each other for a seamless look.
Step 4: Install the Brackets
With your positions marked and level checked, it’s time to install the brackets. Use a drill with the appropriate bit to create pilot holes at the marked positions.
Pilot holes help prevent the wall or frame from splitting and make it easier to insert the screws. Secure the brackets using screws and anchors that are suitable for your wall type, whether it’s drywall, plaster, or masonry.
Ensure the screws are tightened firmly, but be careful not to overtighten, as this could damage the brackets or wall.
Step 5: Hang the Blinds
Once the brackets are securely in place, you can hang the blinds. To do so, lift the blinds’ headrail and slot it into the brackets.
Depending on the type of blinds, you may need to snap the headrail into place or tighten screws on the brackets to secure the headrail.
Ensure that the blinds are correctly seated and that the headrail is level. Tug on the blinds to confirm they are firmly attached and will not shift or fall.
Step 6: Attach Additional Accessories
Some blinds come with additional accessories such as end caps or cord cleats. End caps cover the headrail’s exposed ends, giving the installation a polished look.
Cord cleats secure cords or chains, reducing the risk of tangling and improving safety, especially in homes with children or pets.
Follow the manufacturer’s instructions to attach these accessories, ensuring they are installed correctly and securely.
Step 7: Test the Blinds
The final step is to test the operation of your blinds. Gently raise and lower the blinds to ensure they move smoothly without sticking or jamming.
Test the tilt function for Venetian or slatted blinds to ensure the slats adjust properly. If you encounter any issues, such as uneven movement or difficulty raising the blinds, check the alignment of the headrail and brackets and make any necessary adjustments.
Maintenance and Care

Regular maintenance and care are essential to ensure your blinds remain functional and attractive. Cleaning your blinds is crucial to prevent dust and grime buildup.
Wipe the slats with a soft, dry cloth or a duster for Venetian and wooden blinds. For fabric blinds, a vacuum with a brush attachment or a gentle spot-cleaning with a fabric cleaner is advisable.
Inspecting the hardware regularly can prevent issues. Check brackets and screws for any signs of looseness or damage and tighten or replace them as needed.
For motorised blinds, ensure the battery or power source is functioning correctly, and clean the motorised components to avoid any operational issues.
Avoiding excessive moisture is vital for longevity, especially for wooden or fabric blinds. If your blinds get wet, dry them promptly to prevent warping or mould growth.
For pleated blinds and cellular shades, gently vacuum or use a soft brush to remove dust from the folds.
Finally, adjust the blinds regularly to ensure smooth operation and check for any signs of wear and tear.
Conclusion
In conclusion, having the right tools and understanding the fitting process is essential for a successful blind installation. Following this guide, you can confidently and precisely tackle your blinds fitting project.
For expert advice or professional fitting services, contact Into Blinds Melbourne today and ensure your blinds are installed perfectly.


