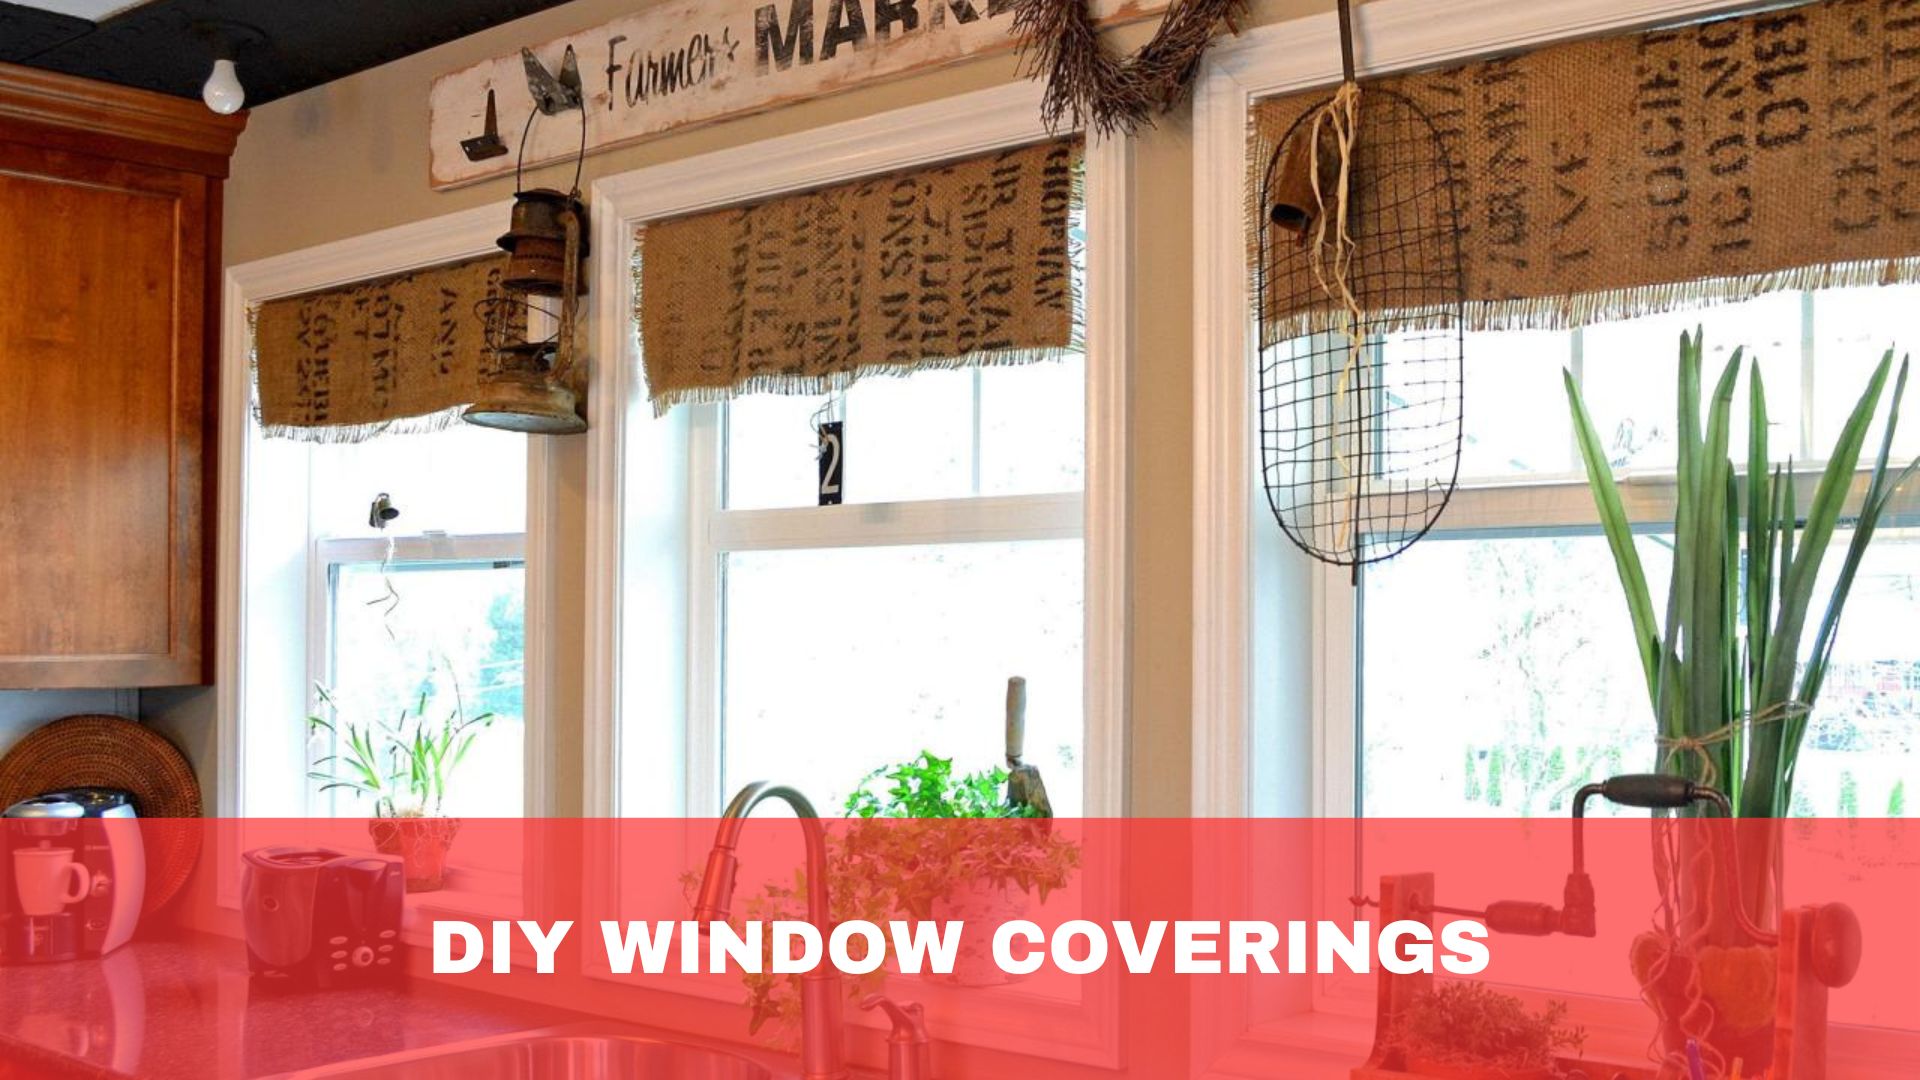
Need help finding stylish yet affordable window coverings for your home?
Off-the-shelf options can be pricey and often lack a personal touch, leaving your windows looking generic and uninspired.
Discover the world of DIY window coverings! This guide provides creative and cost-effective solutions to transform your space, adding a unique flair that reflects your style without breaking the bank.
Planning Your DIY Window Coverings
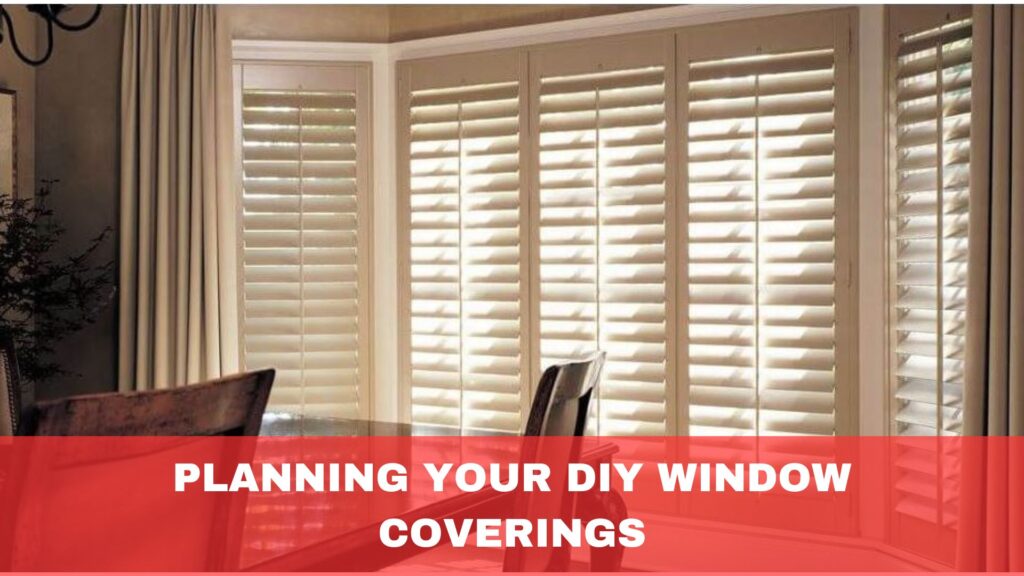
Planning is crucial to ensure your DIY window coverings are functional and stylish.
Begin by measuring your windows accurately. Use a metal tape measure for precision, noting each window’s width, height, and depth. These measurements will guide your choice of materials and design.
Next, decide on the type of window covering that suits your needs and style. Consider options like curtains, blinds, shades, or shutters. Each type offers different levels of light control, privacy, and aesthetic appeal. Think about the room’s purpose and the amount of natural light you want to allow.
Choose materials that complement your interior decor. Fabrics, wood, and bamboo are popular choices. Ensure the materials are durable and easy to maintain. Match or coordinate your window coverings with existing furnishings for a cohesive look.
Create a budget for your project. DIY window coverings can be cost-effective, but it’s essential to account for all expenses, including tools, materials, and additional hardware like curtain rods or brackets.
Finally, gather all the necessary tools before starting. Standard tools include a drill, screws, a level, and a sewing machine for fabric coverings. With a clear plan, your DIY window covering project will be smooth and successful, adding a personal touch to your home.
Creative DIY Window Covering Ideas
Elevating your home’s aesthetics doesn’t have to be expensive. With creativity and some basic materials, you can craft unique, stylish window coverings that reflect your taste.
DIY window coverings offer a fantastic way to infuse personality into your space while decreasing costs. Whether you prefer a modern look, rustic charm, or a touch of vintage elegance, there are endless possibilities to explore.
Below, we’ve compiled some inventive DIY window covering ideas that will help you transform your windows and enhance the overall ambience of your home.
1. No-Sew Curtains
No-sew curtains are a perfect solution for those who want to add a touch of elegance to their windows without the hassle of sewing.
Start by selecting a fabric that complements your room’s decor. Lightweight cotton, linen, or even patterned fabric can work beautifully.
Measure your windows to determine the length and width of the fabric needed, allowing extra heat.
To create the hems, use fabric glue or iron-on hemming tape. Fold the edges of the fabric over twice to create a clean hem, securing it with glue or tape. This method ensures a neat finish without the need for a sewing machine. For added detail, consider using trim or ribbon along the edges.
Next, attach curtain rings or clips to the top edge of the fabric. This makes hanging the curtains simple and allows them to slide easily along the rod. Choose a decorative curtain rod that matches your room’s style and install it above your window.
2. DIY Roman Shades
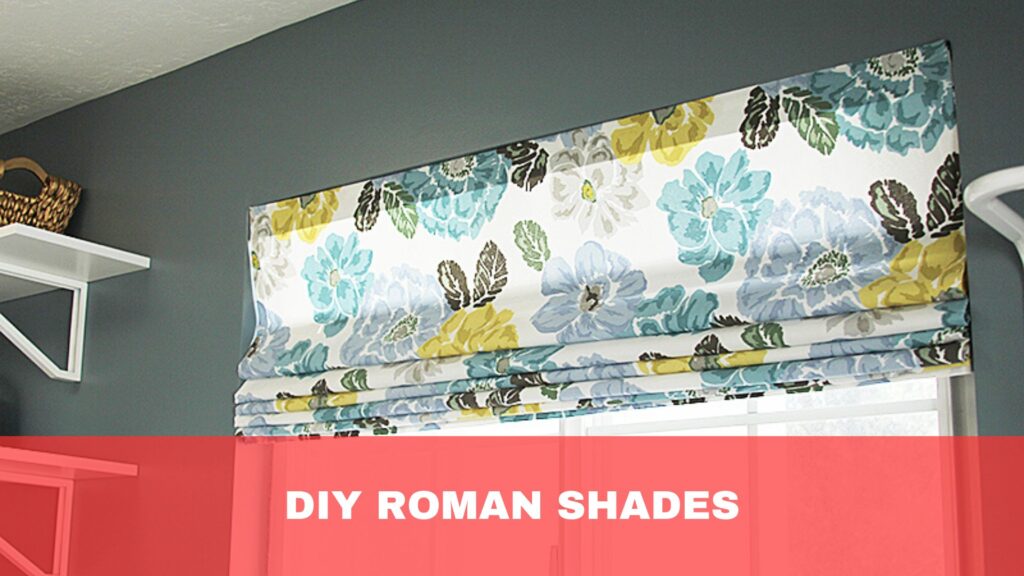
Creating your Roman shades is a rewarding project that adds a touch of custom elegance to any room.
Start by selecting a fabric that suits your decor. Lightweight fabrics work best for Roman shades, as they fold neatly when raised.
Measure your window to determine the dimensions of the fabric. Add a few extra inches to the length and width for hemming. Cut the fabric to size and use fabric glue or iron-on hemming tape to create clean hems on all sides.
Next, you’ll need a set of mini blinds that fit your window. Remove the slats, leaving only the top rail, bottom rail, and the lift strings. Lay your fabric face down and evenly space the slats along the fabric. Attach the slats to the fabric using a solid adhesive or fabric glue. Ensure the slats are evenly spaced to allow the fabric to fold correctly.
Once the slats are secured, reattach the bottom rail. Attach the top rail to the window frame or inside the window recess using screws or brackets. Test the shade to ensure it lifts and lowers smoothly, adjusting the slat positions if necessary.
3. Stencilled Roller Blinds
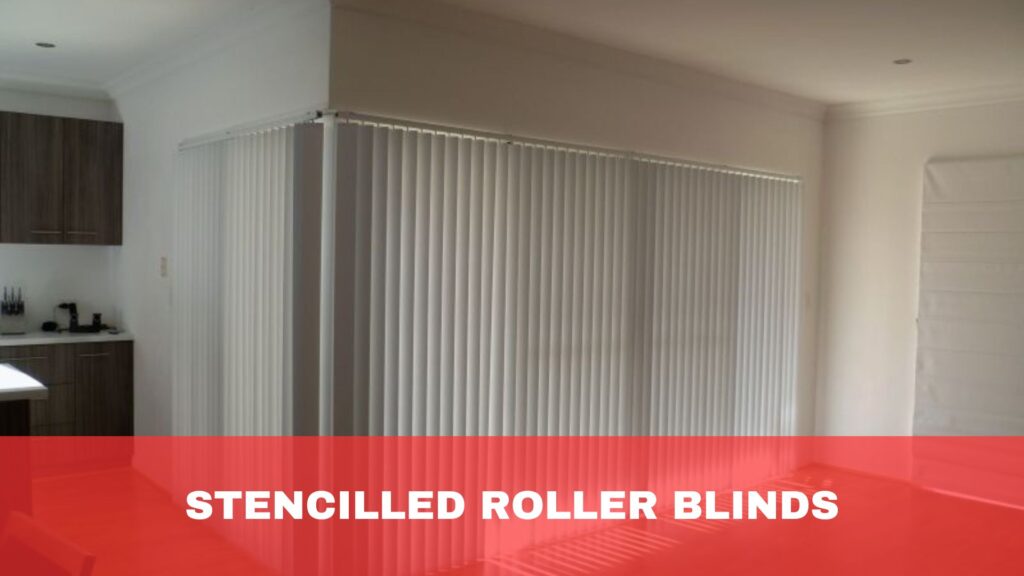
Stencilled roller blinds are a fantastic way to add a personalised touch to your windows without a hefty price tag.
Start by choosing a plain roller blind that fits your window. Light-coloured blinds work best for stencilling as they provide a transparent background for your design.
Select a stencil pattern that complements your room’s decor. Floral designs, geometric shapes, and abstract patterns are popular choices. Secure the stencil to the blind using painter’s tape to prevent it from moving during the painting process.
Use fabric paint for a durable finish. Pour a small amount of paint onto a plate and use a stencil brush or sponge to apply the paint over the stencil. Dab gently to ensure even coverage without bleeding under the stencil. Allow the paint to dry before carefully removing the stencil. Repeat the process across the blind, re-securing the stencil to create a continuous pattern.
For added durability, seal the painted design with a fabric sealant spray. This helps protect the paint from fading and makes cleaning easier.
4. Fabric-Wrapped Cornices
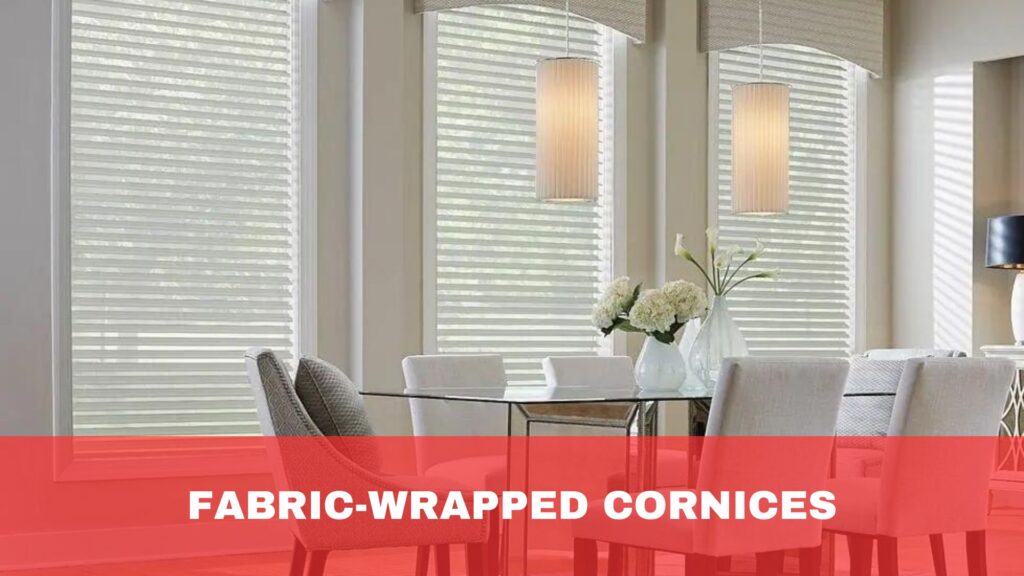
Fabric-wrapped cornices are an elegant way to add a finishing touch to your windows, providing a polished look that enhances any room.
Begin by measuring the width of your window, including any additional length you want the cornice to extend on either side. Decide on the height and depth of the cornice, typically 12 to 18 inches high and 4 to 6 inches deep.
Purchase a wooden cornice board or create one using plywood. Cut the board to your desired dimensions and assemble it using nails or screws. Sand the edges for a smooth finish.
Choose a fabric that complements your room’s decor. Measure and cut the fabric, allowing extra inches to wrap around the board on all sides. Lay the fabric flat, place the cornice board on top, and pull the fabric tightly around the board. Secure the fabric on the back side using a staple gun, ensuring no wrinkles or loose areas. Fold the corners neatly and staple them in place for a seamless look.
Consider trim or ribbon along the edges to add a decorative touch. Attach the trim with fabric glue or a hot glue gun.
Install the cornice above your window using L-brackets or direct wall mounts. Fabric-wrapped cornices provide a sophisticated and custom look, transforming your windows into stylish focal points without a significant investment.
5. Simple Valances
Simple valances are a quick and effective way to add a touch of elegance to your windows without extensive effort or expense.
To start, measure the width of your window, ensuring the valance will cover the desired area. Valances typically hang 12 to 18 inches from the top of the window, but you can adjust the length to suit your style.
Choose a fabric that complements your room’s decor. Lightweight cotton, linen, or even sheer materials can work well. Measure and cut the fabric, allowing extra inches on all sides for hemming.
To create the hems, use fabric glue or iron-on hemming tape. Fold the edges of the fabric over twice to create a clean hem, securing it with glue or tape. Consider adding a trim or fringe along the bottom edge for added detail.
Install a curtain rod above your window. Ensure it is positioned high enough for the valance to hang correctly. Attach the valance to the rod using curtain rings, clips, or a rod pocket.
Hang the valance and adjust it to ensure it falls evenly and covers the top of the window. Simple valances provide a charming and refined finish to your windows, offering an easy and affordable way to enhance your home’s interior.
Budget-Friendly Materials and Tools
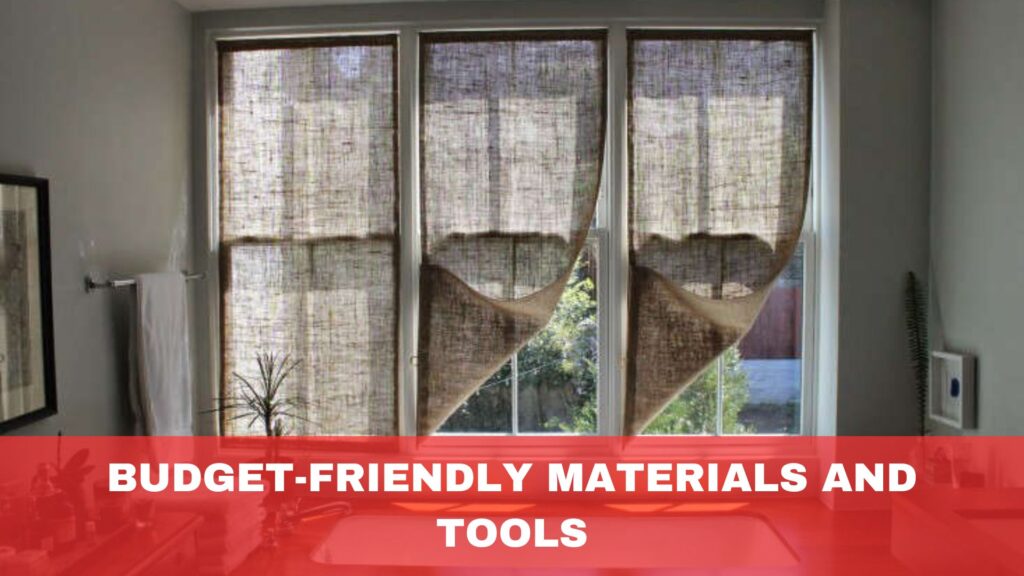
Creating stylish DIY window coverings doesn’t have to be expensive. Start by sourcing budget-friendly materials that offer both quality and affordability.
Fabrics such as cotton, linen, and polyester are widely available at reasonable prices. Check out local fabric stores or online retailers for discounts and sales. Repurposing materials like old tablecloths, sheets, or scarves can be cost-effective.
For hardware, consider using essential curtains or tension rods, which are inexpensive and easy to install. Curtain rings, clips, and hooks are available at home improvement stores for minimal cost.
Adhesive products, such as fabric glue or iron-on hemming tape, eliminate the need for sewing and are affordable.
You don’t need to invest in expensive equipment when it comes to tools. A good pair of fabric scissors, a metal tape measure, a staple gun, and a hot glue gun are essential and inexpensive. If you need a sewing machine for more advanced projects, consider borrowing one from a friend or purchasing a basic model.
Installation Tips and Tricks
Proper installation ensures your DIY window coverings look professional and function well. Start by measuring your windows accurately. Measure the width and height, and account for any additional space needed for hardware or brackets. Mark these measurements on your walls to ensure accurate placement.
Use a level to make sure your curtain rods or brackets are straight. This will prevent your window coverings from hanging unevenly. When installing brackets, ensure they are secured into wall studs or use appropriate wall anchors to support the weight of your coverings.
For curtains and drapes, hang the rod high above the window frame. This creates the illusion of taller windows and adds a touch of elegance. Ensure the curtains are wide enough to cover the window fully when closed.
For blinds and shades, follow the manufacturer’s instructions carefully. Check that the mounting brackets are level and securely fastened. When using adhesive hooks or tension rods, ensure the surfaces are clean and dry for the best adherence.
Test your window coverings to ensure they open and close smoothly. Make any necessary adjustments to the hardware or alignment. These installation tips and tricks will help you achieve a polished and functional look for your DIY window coverings, enhancing the overall appearance of your home.
Maintenance and Care for DIY Window Coverings
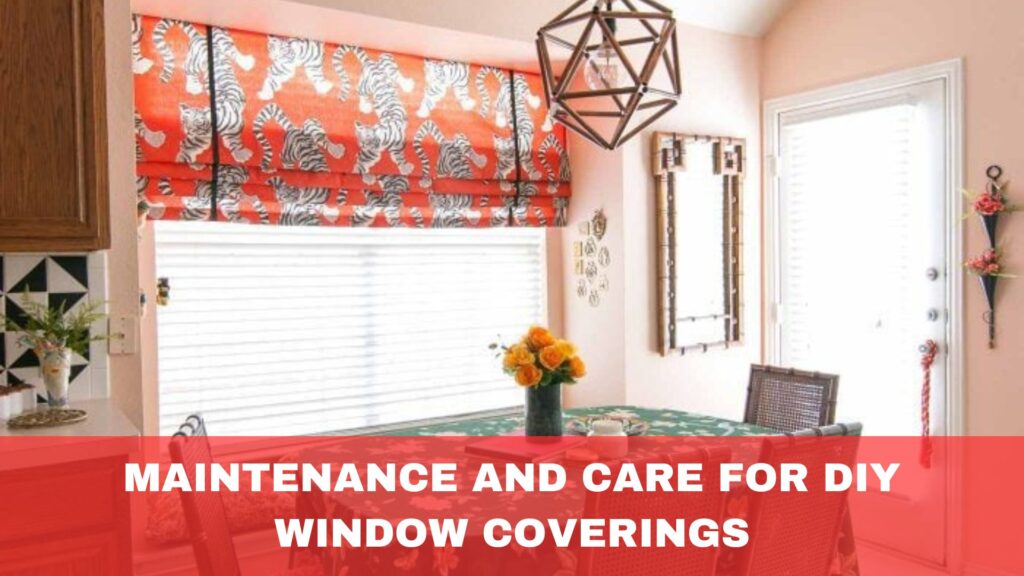
Maintaining your DIY window coverings ensures they stay looking fresh and function well for years to come.
Regular cleaning is essential. Fabric curtains and drapes should be vacuumed regularly using a brush attachment to remove dust. Depending on the fabric, some curtains can be machine-washed. Always check the care label first. For delicate fabrics, consider spot cleaning or professional dry cleaning.
Blinds and shades require different care. Dust them weekly with a soft cloth or a feather duster. Use a damp cloth with mild soap to wipe down each slat or section for deeper cleaning. Avoid using harsh chemicals that could damage the material.
Inspect your hardware periodically. Ensure that curtain rods, brackets, and hooks are securely fastened and free of rust or damage. Tighten any loose screws and replace any broken components promptly.
If you’ve used adhesive products like fabric glue or hemming tape, check the seams occasionally to ensure they remain secure. Reapply adhesive if necessary to prevent fraying or sagging.
Avoid excessive exposure to direct sunlight for all window coverings, which can fade fabrics and weaken materials over time. Use linings or light-filtering options to protect your coverings from UV damage.
Conclusion
Incorporating DIY window coverings into your home saves money and allows for personalised and stylish decor.
Embrace your creativity and transform your space today. Start your next DIY project now and share your stunning results with us!

