
Finding the right balance of privacy and style with blinds alone can be limiting. Are your windows lacking that finishing touch? Unsure how to integrate curtains without overwhelming the space?
Discover a step-by-step guide for seamlessly installing curtains over blinds. Quickly enhance your interior with improved privacy and aesthetic cohesion.
Step 1: Gather Your Tools and Materials

For this step, you will have to consider the following:
Tools Needed
Explore some of the necessary tools required:
- Measuring tape for accurate dimensions
- Pencil for marking positions
- Drill with appropriate drill bits
- Screws and anchors suitable for wall type
- Level for straight installations
- Step ladder for safe access to higher areas
Materials Required
Here are the Key materials required for installing curtains over blinds:
- Curtain rods matching window dimensions and style
- Curtains suitable for chosen window treatment
- Additional accessories like curtain rings or hooks, if necessary
Preparation Tips
Follow these tips to ensure proper preparation of curtains:
- Gather all tools and materials before starting the installation.
- Ensure curtain rods are of suitable length and style for aesthetic and functional needs.
- Use a level to ensure brackets are installed straight.
- Prepare a safe working environment with a step ladder for higher installations.
Benefits of Preparation
Here are some of the benefits of preparing how to install curtains over blinds:
- Streamline the installation process.
- Minimise interruptions during installation.
- Achieve a professional-looking and functional installation.
- Enhance both the aesthetic appeal and functionality of window treatments seamlessly.
Step 2: Measure Your Windows and Blinds

Accurate measurements are crucial for a successful installation. Begin by measuring the width of the window frame where the curtains will hang. Measure both the inside and outside edges to ensure consistency.
Next, measure the length from the top of the window frame to where you want the curtains to fall, either below the sill or to the floor. For blinds, measure the distance from the top of the blinds to the bottom edge. These measurements will help determine the placement of your curtain rod brackets relative to the blinds.
Double-check all measurements to avoid discrepancies affecting your window treatments’ final appearance and functionality. Measuring accurately ensures that your curtains will fit perfectly over your blinds, providing a polished and cohesive look for your windows.
Step 3: Choose the Right Curtain Rods
Selecting the appropriate curtain rods is crucial for achieving aesthetic harmony and functional compatibility with your blinds.
- Consider Curtain Weight: Choose rods that can support the weight of your curtains, especially if they are heavy or made from thick fabrics.
- Measure Window Width: Ensure the rod extends several inches beyond each side of the window frame for optimal coverage when curtains are drawn.
- Select Rod Style: Opt for a rod style that complements your interior decor, such as metal finishes or decorative finials.
- Adjustable Length: Choose rods that are adjustable to fit the width of your window precisely.
- Rod Diameter: Thicker rods provide more support, which is ideal for heavier curtains.
- Functional vs. Decorative: Balance functionality and aesthetics to enhance your window treatment look and usability.
Step 4: Install the Curtain Rod Brackets
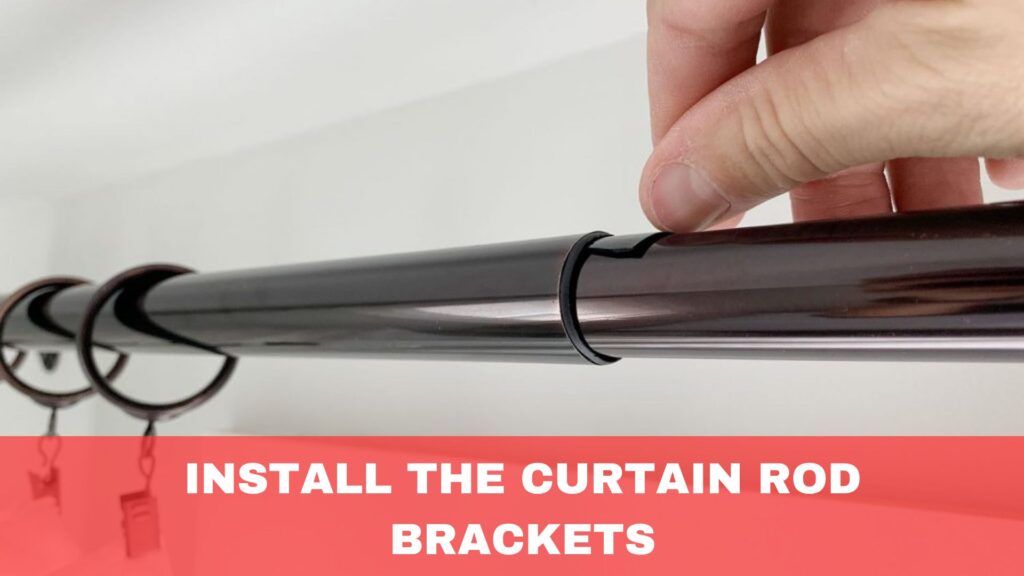
Begin by marking the positions for your curtain rod brackets using a pencil and a level. Ensure the brackets are evenly spaced and aligned with your measurements from Step 2. Use a drill to create pilot holes at each marked position, using the appropriate drill bit size for your wall type (e.g., plasterboard, masonry).
If using wall anchors, insert them into the pilot holes. Next, align the brackets with the pilot holes and secure them using screws provided or suitable for the anchor type. Double-check the level of each bracket before fully tightening the screws to ensure they are straight.
Once all brackets are securely installed, verify that they can support the weight of the curtain rod and curtains without sagging or shifting. Properly installed brackets provide a stable foundation for your curtains, ensuring they operate smoothly alongside your existing blinds and enhancing the overall functionality of your window treatments.
Step 5: Hang Your Curtains
After installing the curtain rod brackets, it’s time to hang your curtains. Begin by placing the curtains onto the rod, ensuring they are evenly distributed. Slide the rod into the installed brackets, carefully aligning it. If using curtain rings or hooks, attach them securely to the rod before placing the curtains.
Once the rod is in place, adjust the curtains to achieve the desired length and fullness. If your curtains have tiebacks or holdbacks, install them to secure the curtains when open. Test the functionality by opening and closing the curtains to ensure smooth operation without obstructions.
Double-check the curtains’ alignment and level to maintain a polished appearance. Properly hung curtains complement your blinds and provide added privacy and light control as needed. By following these steps carefully, you can achieve a professional and cohesive look for your window treatments.
Step 6: Adjust and Test Functionality

Once your curtains are hung, adjust them for optimal appearance and functionality. Ensure the curtains hang evenly and reach the desired length without dragging on the floor or obstructing furniture.
Adjust the gathers or pleats to achieve a uniform look across the window. Test the functionality by opening and closing the curtains several times to ensure they move smoothly along the rod and do not catch on the blinds or brackets.
Check that the curtains provide adequate privacy and light control coverage when closed. If adjustments are needed, such as tightening screws on brackets or redistributing curtain weight, address them promptly to maintain stability and functionality.
Finally, assess the overall appearance to ensure the curtains complement the existing blinds and enhance the room’s decor seamlessly. Fine-tuning these details lets you enjoy the aesthetic and practical benefits of adequately installed curtains over blinds in your living space.
Why Should You Hang Curtains Over Blinds?

Integrating curtains with blinds offers several practical benefits for your home.
Hanging curtains over blinds offers several benefits:
- Enhanced Privacy and Light Control: Curtains can provide additional privacy and light control layers. Combining them with blinds lets you fine-tune the light entering a room and ensure complete privacy when needed.
- Improved Insulation: Curtains add an extra layer of insulation, helping to keep rooms warmer in winter and cooler in summer. This can improve energy efficiency and reduce heating and cooling costs.
- Aesthetic Appeal: Curtains add a decorative element and can soften the look of blinds, contributing to a more stylish and cohesive interior design. They offer a variety of colours, patterns, and textures to complement your decor.
- Flexibility: Having both curtains and blinds allows for versatile use. The blinds can be used for daytime privacy and light control, while the curtains can be drawn for a cosy, finished look in the evening.
- Sound Absorption: Curtains can help reduce noise levels by absorbing sound, making them a good choice for noisy environments.
- Protection for Blinds: Curtains can protect blinds from dust and potential damage, extending their lifespan and maintaining their appearance.
- Customisation Options: Combining both allows for creative and customisable window treatments. You can choose different styles and layers to match your taste and each room’s needs.
Conclusion
By preparing thoroughly and using the right tools and materials, you can ensure a smooth and professional installation of curtains over blinds.
This approach enhances the aesthetic appeal of your windows and improves functionality, offering privacy and light control tailored to your preferences. Visit Into Blinds for more information on your home’s perfect blinds and curtains.