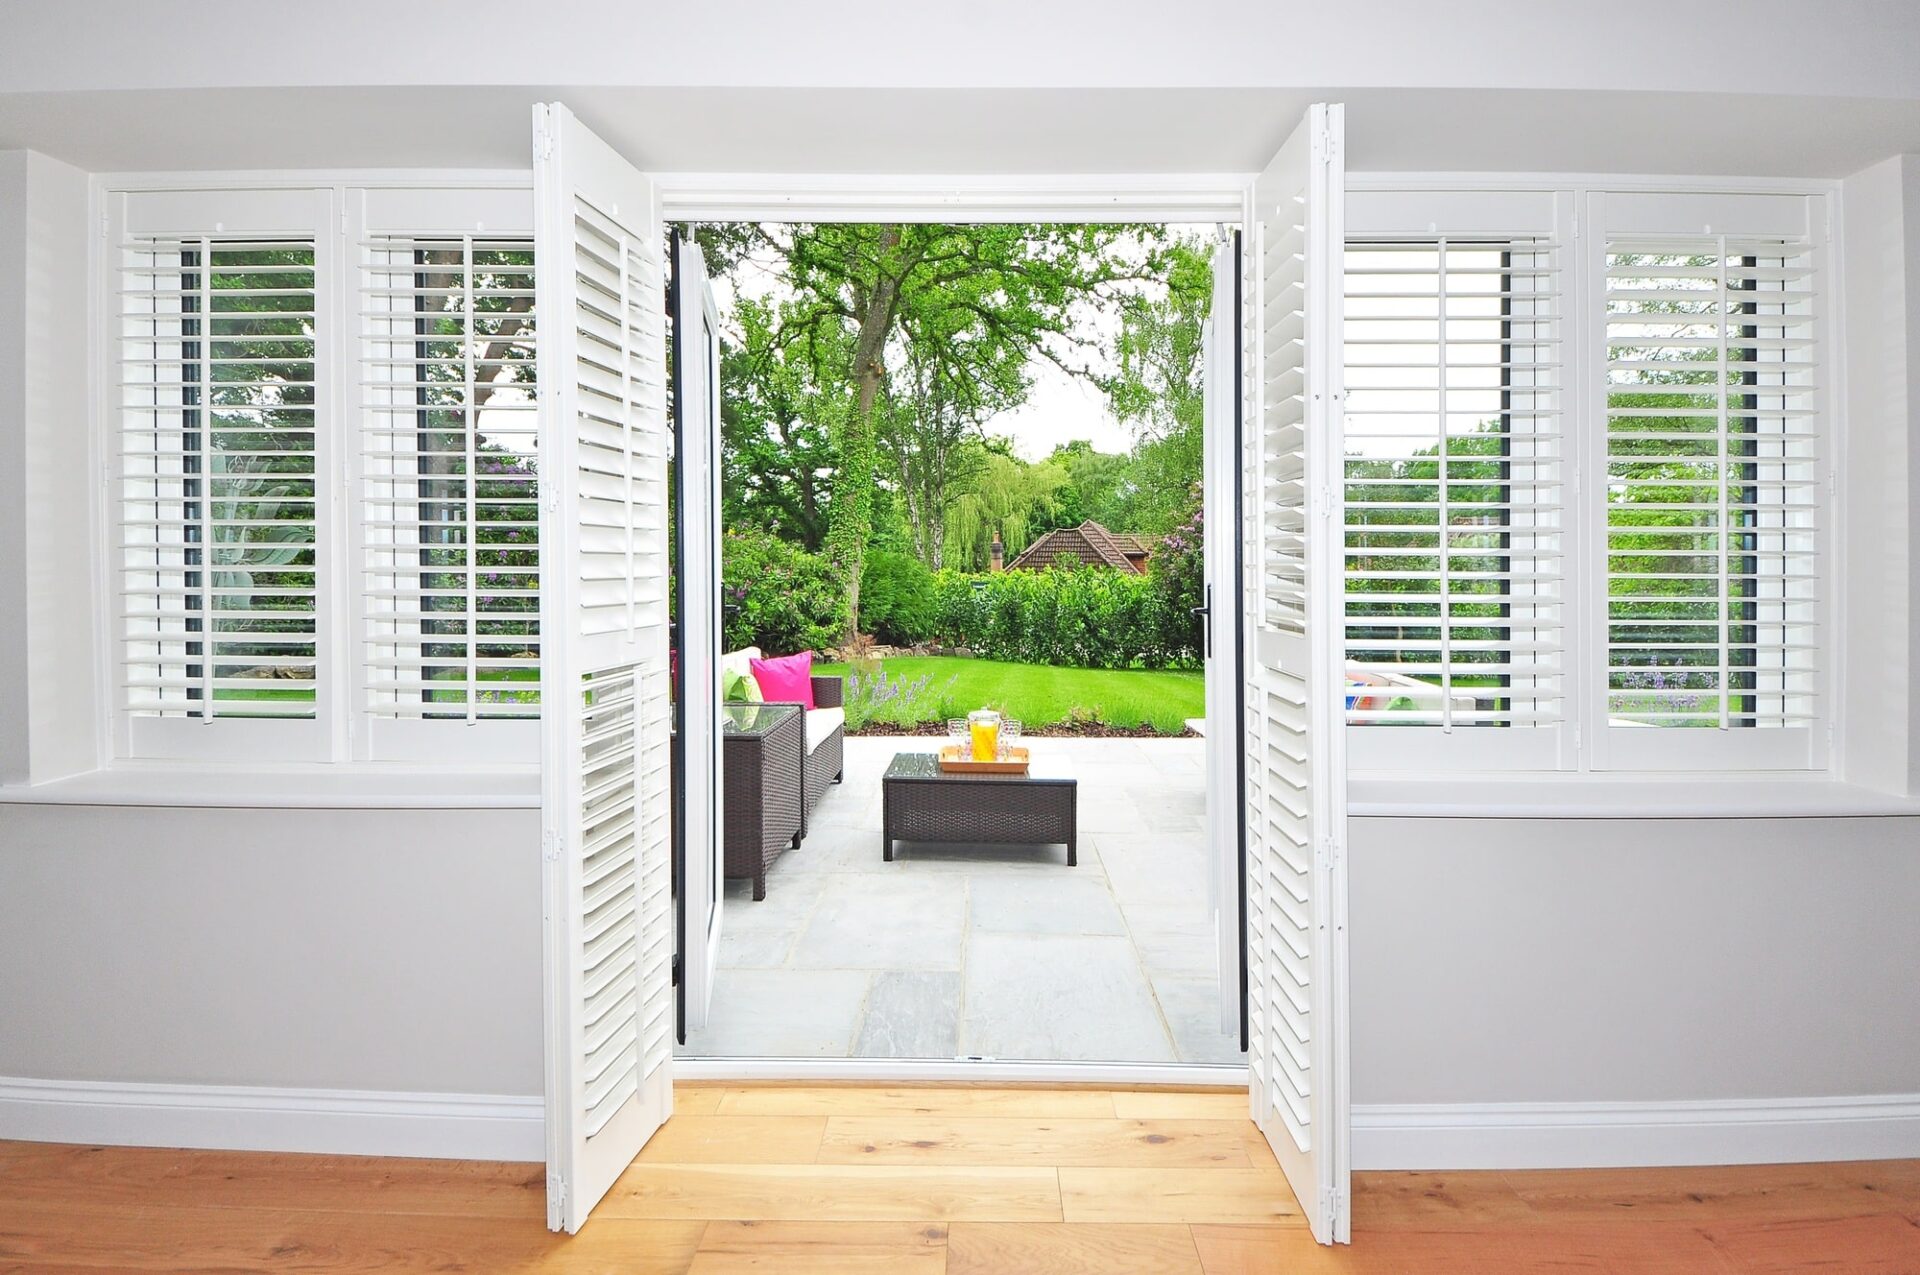
Need help installing plantation shutters and trying to figure out where to start?
If not done correctly, this can lead to frustration, wasted time, and even damaged shutters, leaving your home improvement project incomplete.
Follow our step-by-step guide to quickly and effectively install plantation shutters, enhancing your home’s style and functionality without the hassle.
1. Tools and Materials Needed
Installing plantation shutters requires the right tools and materials to ensure a precise and secure fit. Here’s what you’ll need:
- Measuring Tape: Accurate measurements are crucial. Use a measuring tape to measure the height and width of your window frame to ensure your shutters fit perfectly.
- Drill and Drill Bits: A drill is essential for creating pilot holes and securing the shutters to the window frame. Depending on your window frame material, ensure you have the correct drill bits for wood and masonry.
- Spirit Level: A spirit level helps ensure your shutters are installed straight and level. This is crucial for both aesthetic appeal and proper functionality.
- Screwdriver: A screwdriver, either manual or electric, is necessary for tightening screws during the installation process. Ensure you have the correct type of screwdriver (Phillips or flathead) for the screws provided with your shutters.
- Screws and Wall Plugs: These are typically included with your shutter kit, but ensure you have the right size and type for your window frame material. Wall plugs may be necessary for securing screws in masonry or plaster.
- Pencil: Use a pencil to mark the position of the shutters and pilot holes on the window frame. These marks guide your installation and can be easily erased afterwards.
- Ladder: A ladder may be necessary to install shutters on high or large windows. Ensure it is stable and at the right height for safe access.
- Shutter Panels and Frames: Ensure you have all the components of your plantation shutters, including the panels, frames, and any additional hardware provided in the kit.
- Safety Gear: Wear safety glasses to protect your eyes from dust and debris, and consider gloves to protect your hands while handling tools and materials.
2. Preparing for Installation
Before installing your plantation shutters, proper preparation is essential to ensure a smooth and efficient process.
Here’s how to get ready:
- Measure Accurately: Begin by measuring the width and height of your window frame at multiple points (top, middle, bottom for width; left, centre, right for height). This helps account for any irregularities and ensures your shutters will fit perfectly. Measure to the nearest millimetre for accuracy, and double-check your measurements to avoid errors.
- Clean the Area: Ensure the window frame and surrounding area are clean and free of dust and debris. Use a mild cleaner and a lint-free cloth to wipe down the surfaces. A clean frame ensures better adhesion of any mounting materials and a smoother installation process. Cleaning also prevents dirt from interfering with the shutters’ operation once installed.
- Gather Tools and Materials: Assemble all necessary tools and materials before you start. This includes a measuring tape, drill, spirit level, screwdriver, screws, wall plugs, pencil, ladder, and safety gear. Having everything at hand will save time and reduce interruptions during installation. Lay out your tools in an orderly fashion to ensure you can find each item easily as you need it.
- Inspect Shutters: Check that all parts of your plantation shutters, including panels, frames, and hardware, are present and in good condition. Lay them out in the order you install them to streamline the process. Look for any damage or defects that could affect installation. Contact the supplier before installing if any parts are missing or damaged.
- Read Instructions: Carefully read the manufacturer’s installation instructions. Each shutter model may have specific requirements, and understanding these details upfront will prevent mistakes and ensure a secure fit. Pay attention to any special tools required or particular steps that must be followed sequentially. For reference, keep the instructions close to hand during the installation.
- Mark Positions: Use a pencil to mark the positions for the mounting brackets or frame on the window. These marks will guide your drilling and help ensure precise alignment. Measure and mark the positions for all screws and brackets, checking that they are level and evenly spaced. These marks are crucial for achieving a professional finish and ensuring the shutters operate correctly.
3. Step-by-Step Installation Guide
Installing plantation shutters can be straightforward with the right approach.
Follow this step-by-step guide for a perfect fit:
Step 1: Marking the Mounting Points
Marking the mounting points accurately is essential for seamlessly installing your plantation shutters.
Begin by positioning the assembled frame inside the window recess. Using a spirit level, ensure the frame is level and plumb. This initial positioning is crucial to avoid misalignment during the installation process.
Once the frame is correctly positioned, use a pencil to mark the screw holes on the window frame through the pre-drilled holes in the shutter frame. These marks will serve as guides for drilling pilot holes, ensuring that your screws go in straight and true.
For inside mounts, mark the top, bottom, and sides of the window frame where the screws will be inserted. For outside mounts, ensure the frame is centred and level, then mark the wall or window trim accordingly. Double-check all measurements to confirm the marks are even and the frame is aligned correctly.
Remove the frame and drill pilot holes at the marked points. Pilot holes prevent wood splitting and make it easier to drive in the screws later. Reposition and secure the frame, confident that your mounting points are accurately marked for a flawless installation.
Step 2: Installing the Frame
Installing the frame correctly is crucial for the overall success of your plantation shutters. Start by unboxing your frame components and laying them on a clean, flat surface.
Carefully check each piece against the manufacturer’s instructions to ensure you have all the necessary parts.
First, attach the side frames to the top frame using the provided screws. Ensure the corners are perfectly square to maintain the integrity of the frame.
Next, position the assembled frame inside the window recess firmly in place. Use a spirit level to check that the frame is both level and plumb; this step ensures your shutters operate smoothly.
Once aligned, mark the screw holes on the window frame with a pencil. Remove the frame and drill pilot holes at the marked points. This prevents wood splitting and ensures a secure fit.
Reposition the frame and secure it in place with screws. Double-check the alignment as you tighten each screw to avoid any misalignment.
Lastly, insert the bottom frame and secure it following the same steps. Ensure all screws are tightened and the frame is stable before proceeding to mount the shutters. Proper frame installation guarantees your shutters will be functional and aesthetically pleasing.
Step 3: Attaching the Shutters
Attaching the shutters to the installed frame is the final step that completes your plantation shutter installation. Begin by unwrapping the shutter panels and laying them on a clean surface. Ensure you have the correct number of panels and all necessary hardware, such as hinges and screws.
First, attach the hinges to the shutter panels. Align the hinges with the pre-drilled holes on the shutters and secure them with the provided screws. Tighten the screws firmly to ensure the hinges are stable.
Next, position the shutters within the frame. Hold the shutters and mark the corresponding hinge locations on the frame.
Remove the shutters and drill pilot holes at the marked points on the frame. This will make it easier to attach the shutters without splitting the wood. Reposition the shutters and align the hinges with the pilot holes.
Secure the hinges to the frame using the screws, ensuring the shutters are level and can open and close smoothly.
Finally, check the alignment and operation of the shutters. Make any necessary adjustments to ensure the shutters hang evenly and function properly. Properly attaching the shutters guarantees they will be functional and visually appealing, enhancing your window space.
Step 4: Final Adjustments
Final adjustments ensure your plantation shutters look and function perfectly.
Start by checking the alignment of each shutter panel. Open and close the shutters to see if they operate smoothly and uniformly. If any panels are misaligned, adjust the hinges by loosening the screws slightly, repositioning the shutter, and then tightening the screws again.
Next, examine the gaps between the shutters and the frame. The gaps should be even all around. If they are not, adjust the frame or the shutters as needed. You may need to slightly loosen the screws on the frame or shutters to make these fine adjustments.
Check the louvres to ensure they open and close smoothly. If they are stiff or too loose, adjust the tension screws located on the sides of the shutters. Tighten or loosen these screws incrementally until the louvres operate with the desired amount of resistance.
Finally, secure all screws one last time, ensuring everything is tight and stable. Clean the shutters and the frame to remove any dust or fingerprints.
Proper final adjustments guarantee that your plantation shutters are aesthetically pleasing and fully functional, providing the perfect finishing touch to your window installation.
4. Tips and Tricks for a Smooth Installation
Ensuring a smooth installation of your plantation shutters involves key tips and tricks that can save time and enhance the final result.
Below are some of the tips;
- Prepare Your Workspace: Before you start, gather all the necessary tools, such as a drill, screws, spirit level, measuring tape, and screwdriver. Lay out all components and hardware in an organised manner. A clean, organised workspace prevents misplacing small parts and ensures you can work efficiently without interruptions.
- Double-Check Measurements: Accurate measurements are crucial for a successful installation. Measure the dimensions of your window recess twice to ensure accuracy. Confirm the width, height, and depth of the recess. Compare these measurements with the dimensions of your shutters to ensure they will fit perfectly.
- Use a Spirit Level: Keep a spirit level handy throughout the installation. Use it to check that the frame and shutters are perfectly level and plumb at each step. This ensures that the shutters will operate smoothly and look even, preventing any operational issues caused by misalignment.
- Pre-Drill Pilot Holes: Always drill pilot holes before inserting screws. Pilot holes prevent the wood from splitting and make it easier to drive the screws straight. Use a drill bit slightly smaller than the screws to create these holes. This step is significant when working with hardwood or delicate frames.
- Have an Extra Pair of Hands: Plantation shutters can be bulky and awkward to handle alone. Having someone to assist you can make positioning the frame and attaching the shutters much easier and more accurate. An extra pair of hands ensures the frame stays level and stable while you secure it.
- Adjust Hinges Gradually: When aligning the shutters, make small, incremental adjustments to the hinges. Loosen or tighten the screws slightly and check the alignment frequently. This helps achieve perfect alignment without over-adjusting and ensures the shutters open and close smoothly without binding.
- Check Louvres’ Tension: Adjust the tension screws on the louvres to ensure they open and close smoothly. Too much tension can make the louvres difficult to operate, while too little can cause them to droop. Adjust these screws incrementally until the louvres move with the right amount of resistance, providing the perfect balance.
Conclusion
Installing plantation shutters enhances your home’s beauty and functionality. You can achieve a flawless result with careful measurements, precise alignment, and these expert tips. Ready to transform your windows?
Follow these steps and enjoy your new shutters today. For more home improvement guides, visit our website and subscribe to our newsletter.